Red Wine Poached Pears with Crème Fraîche

Red Wine Poached Pears with Crème Fraîche - A Pat & A Pinch

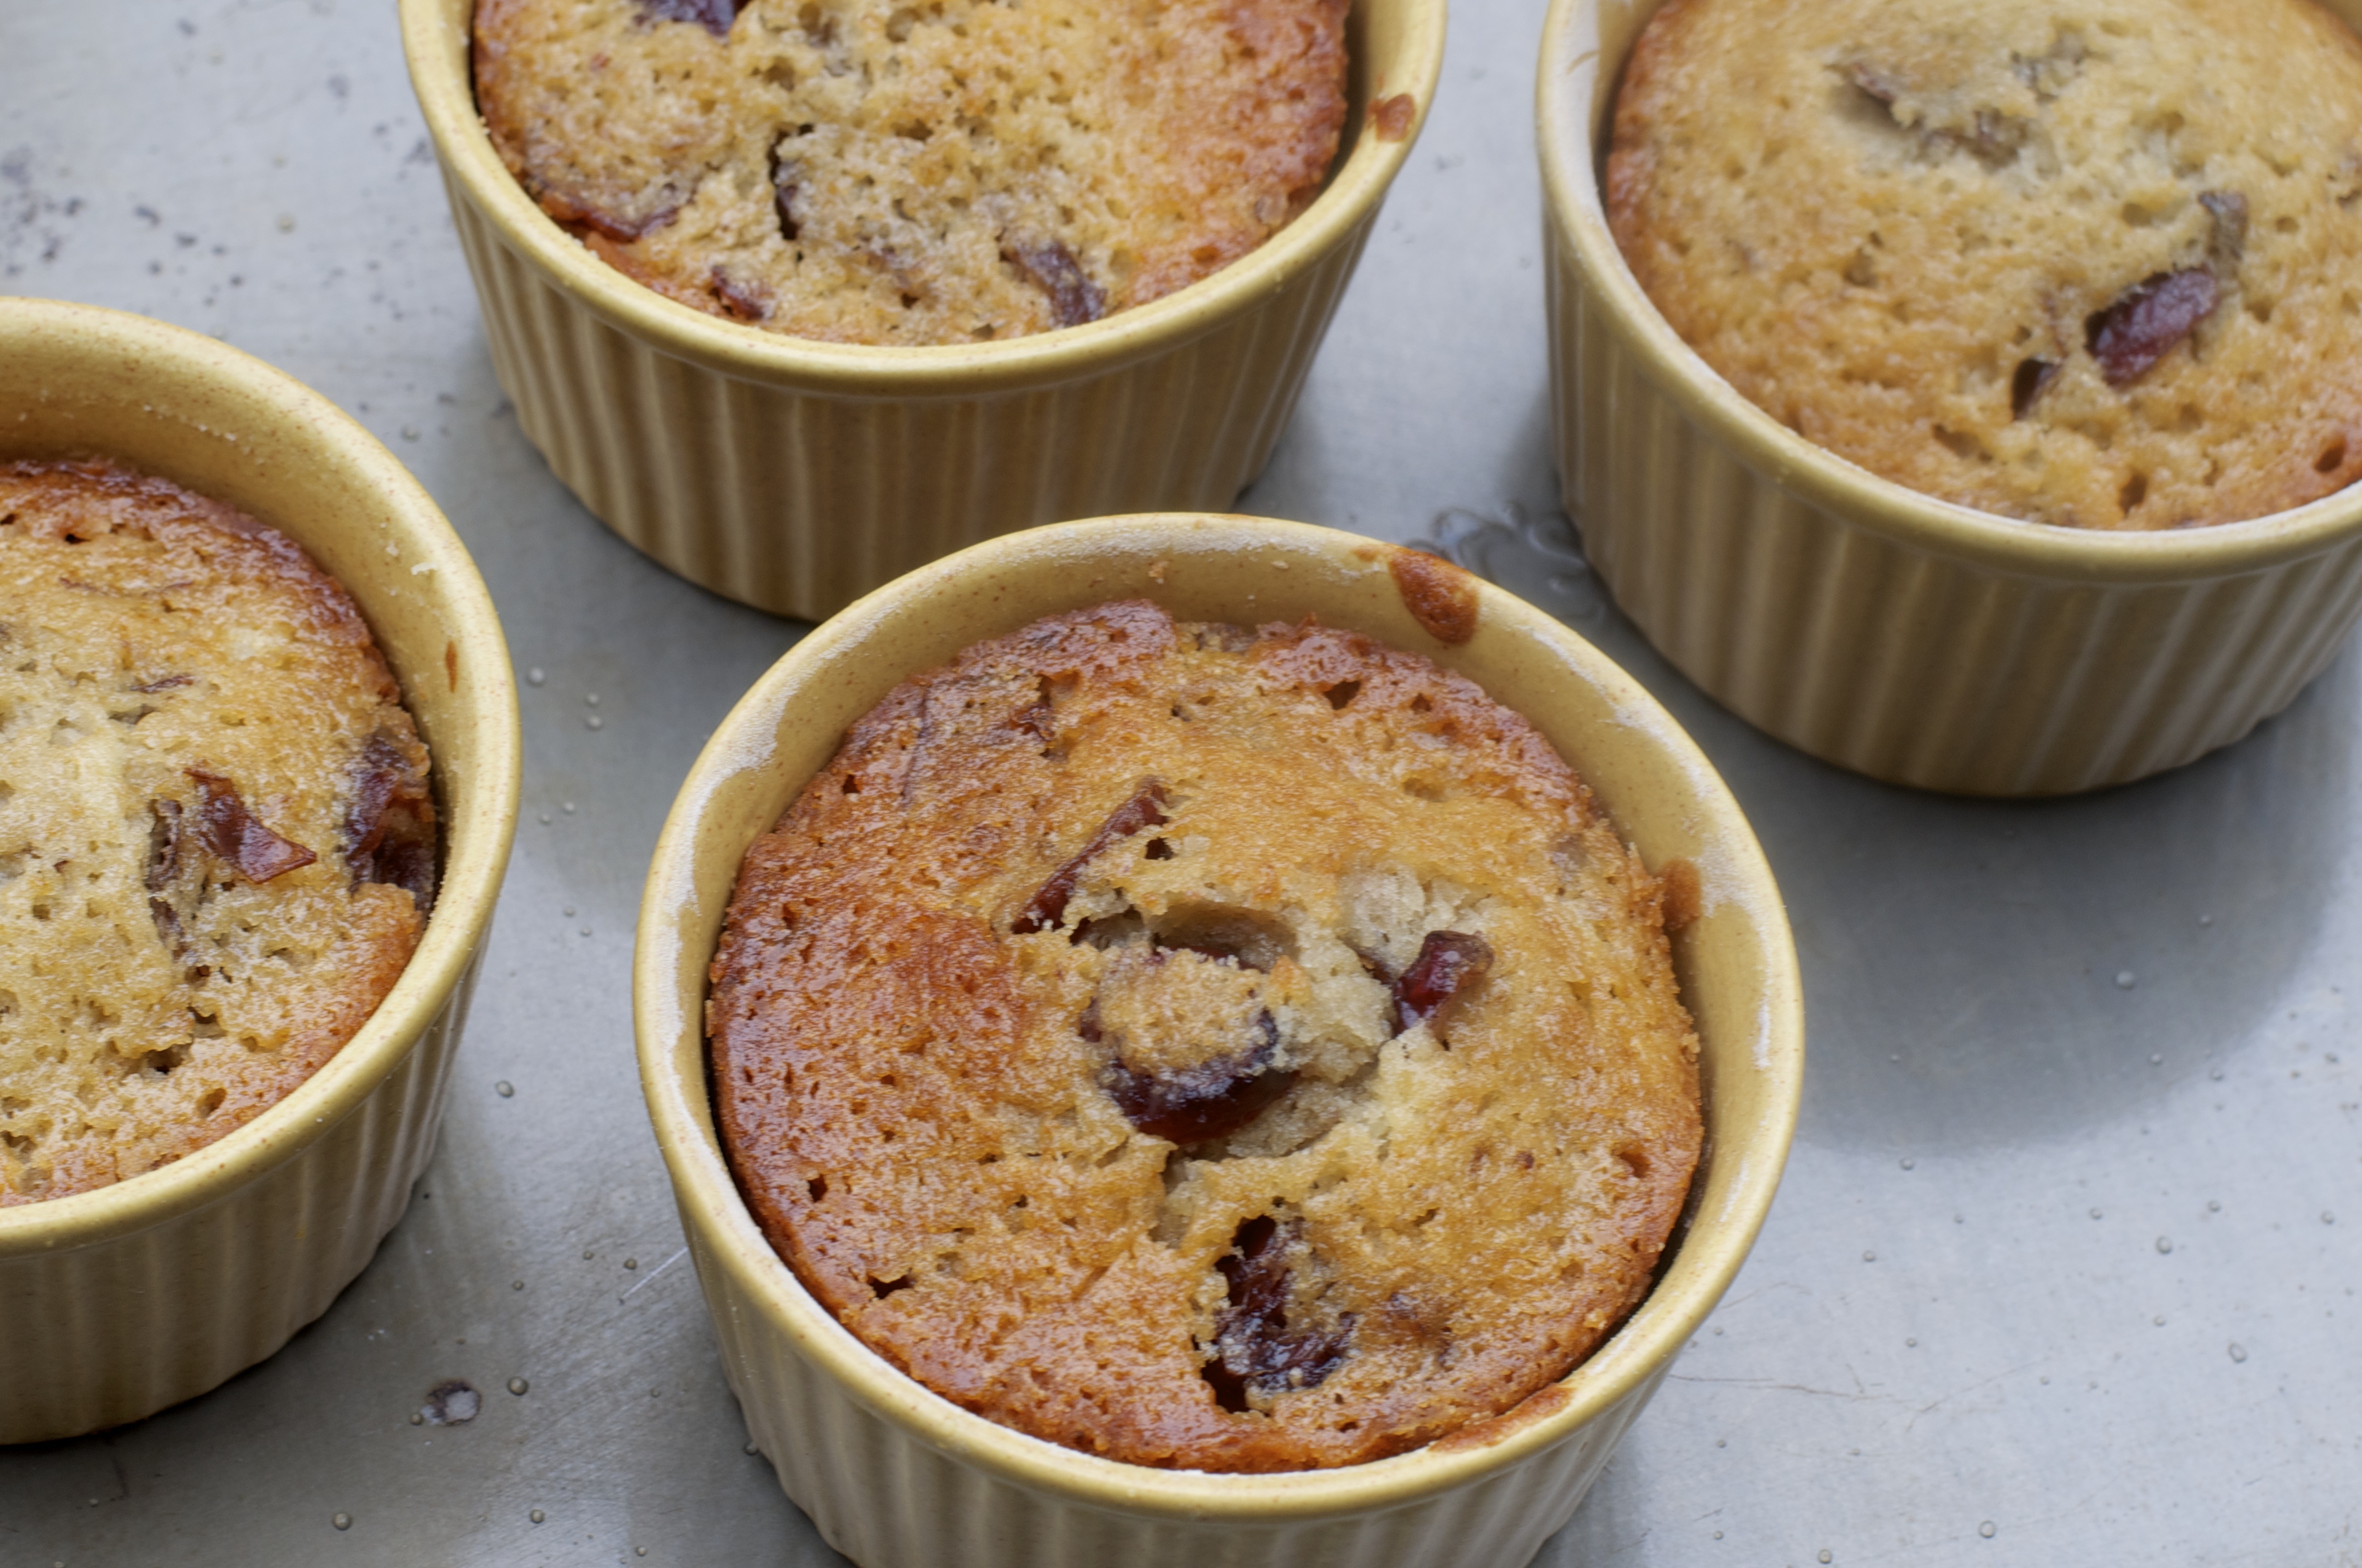
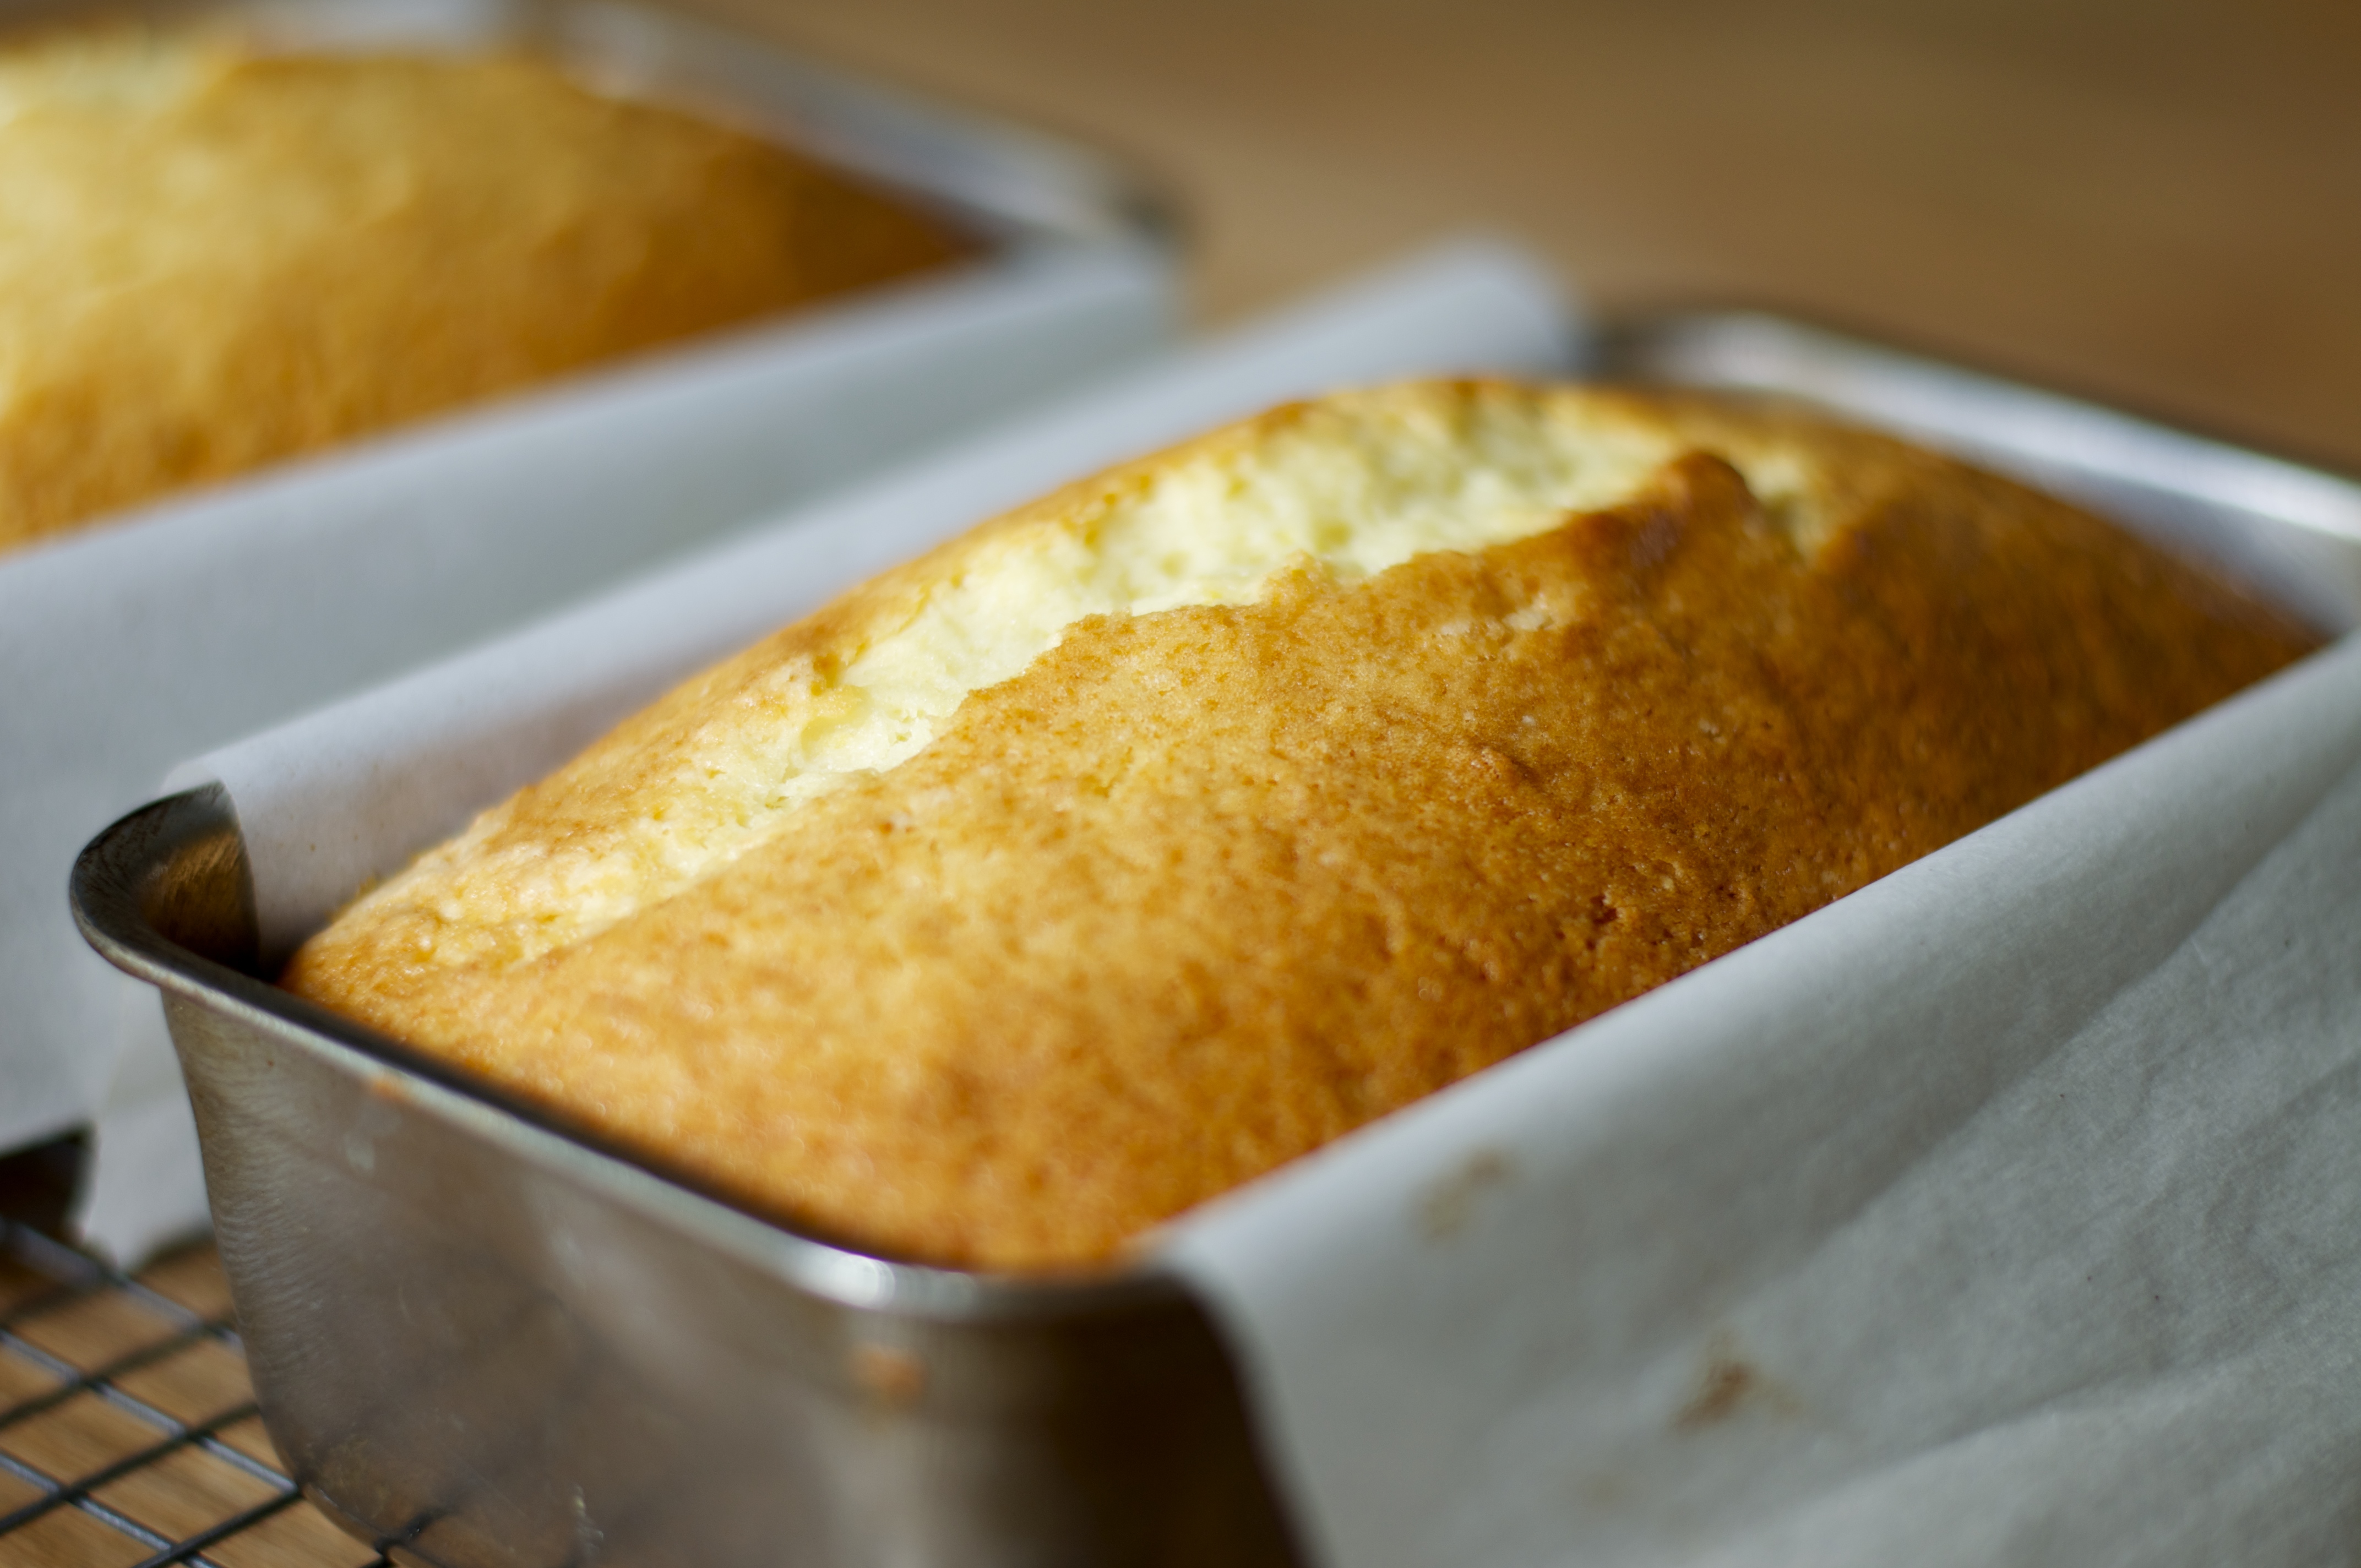
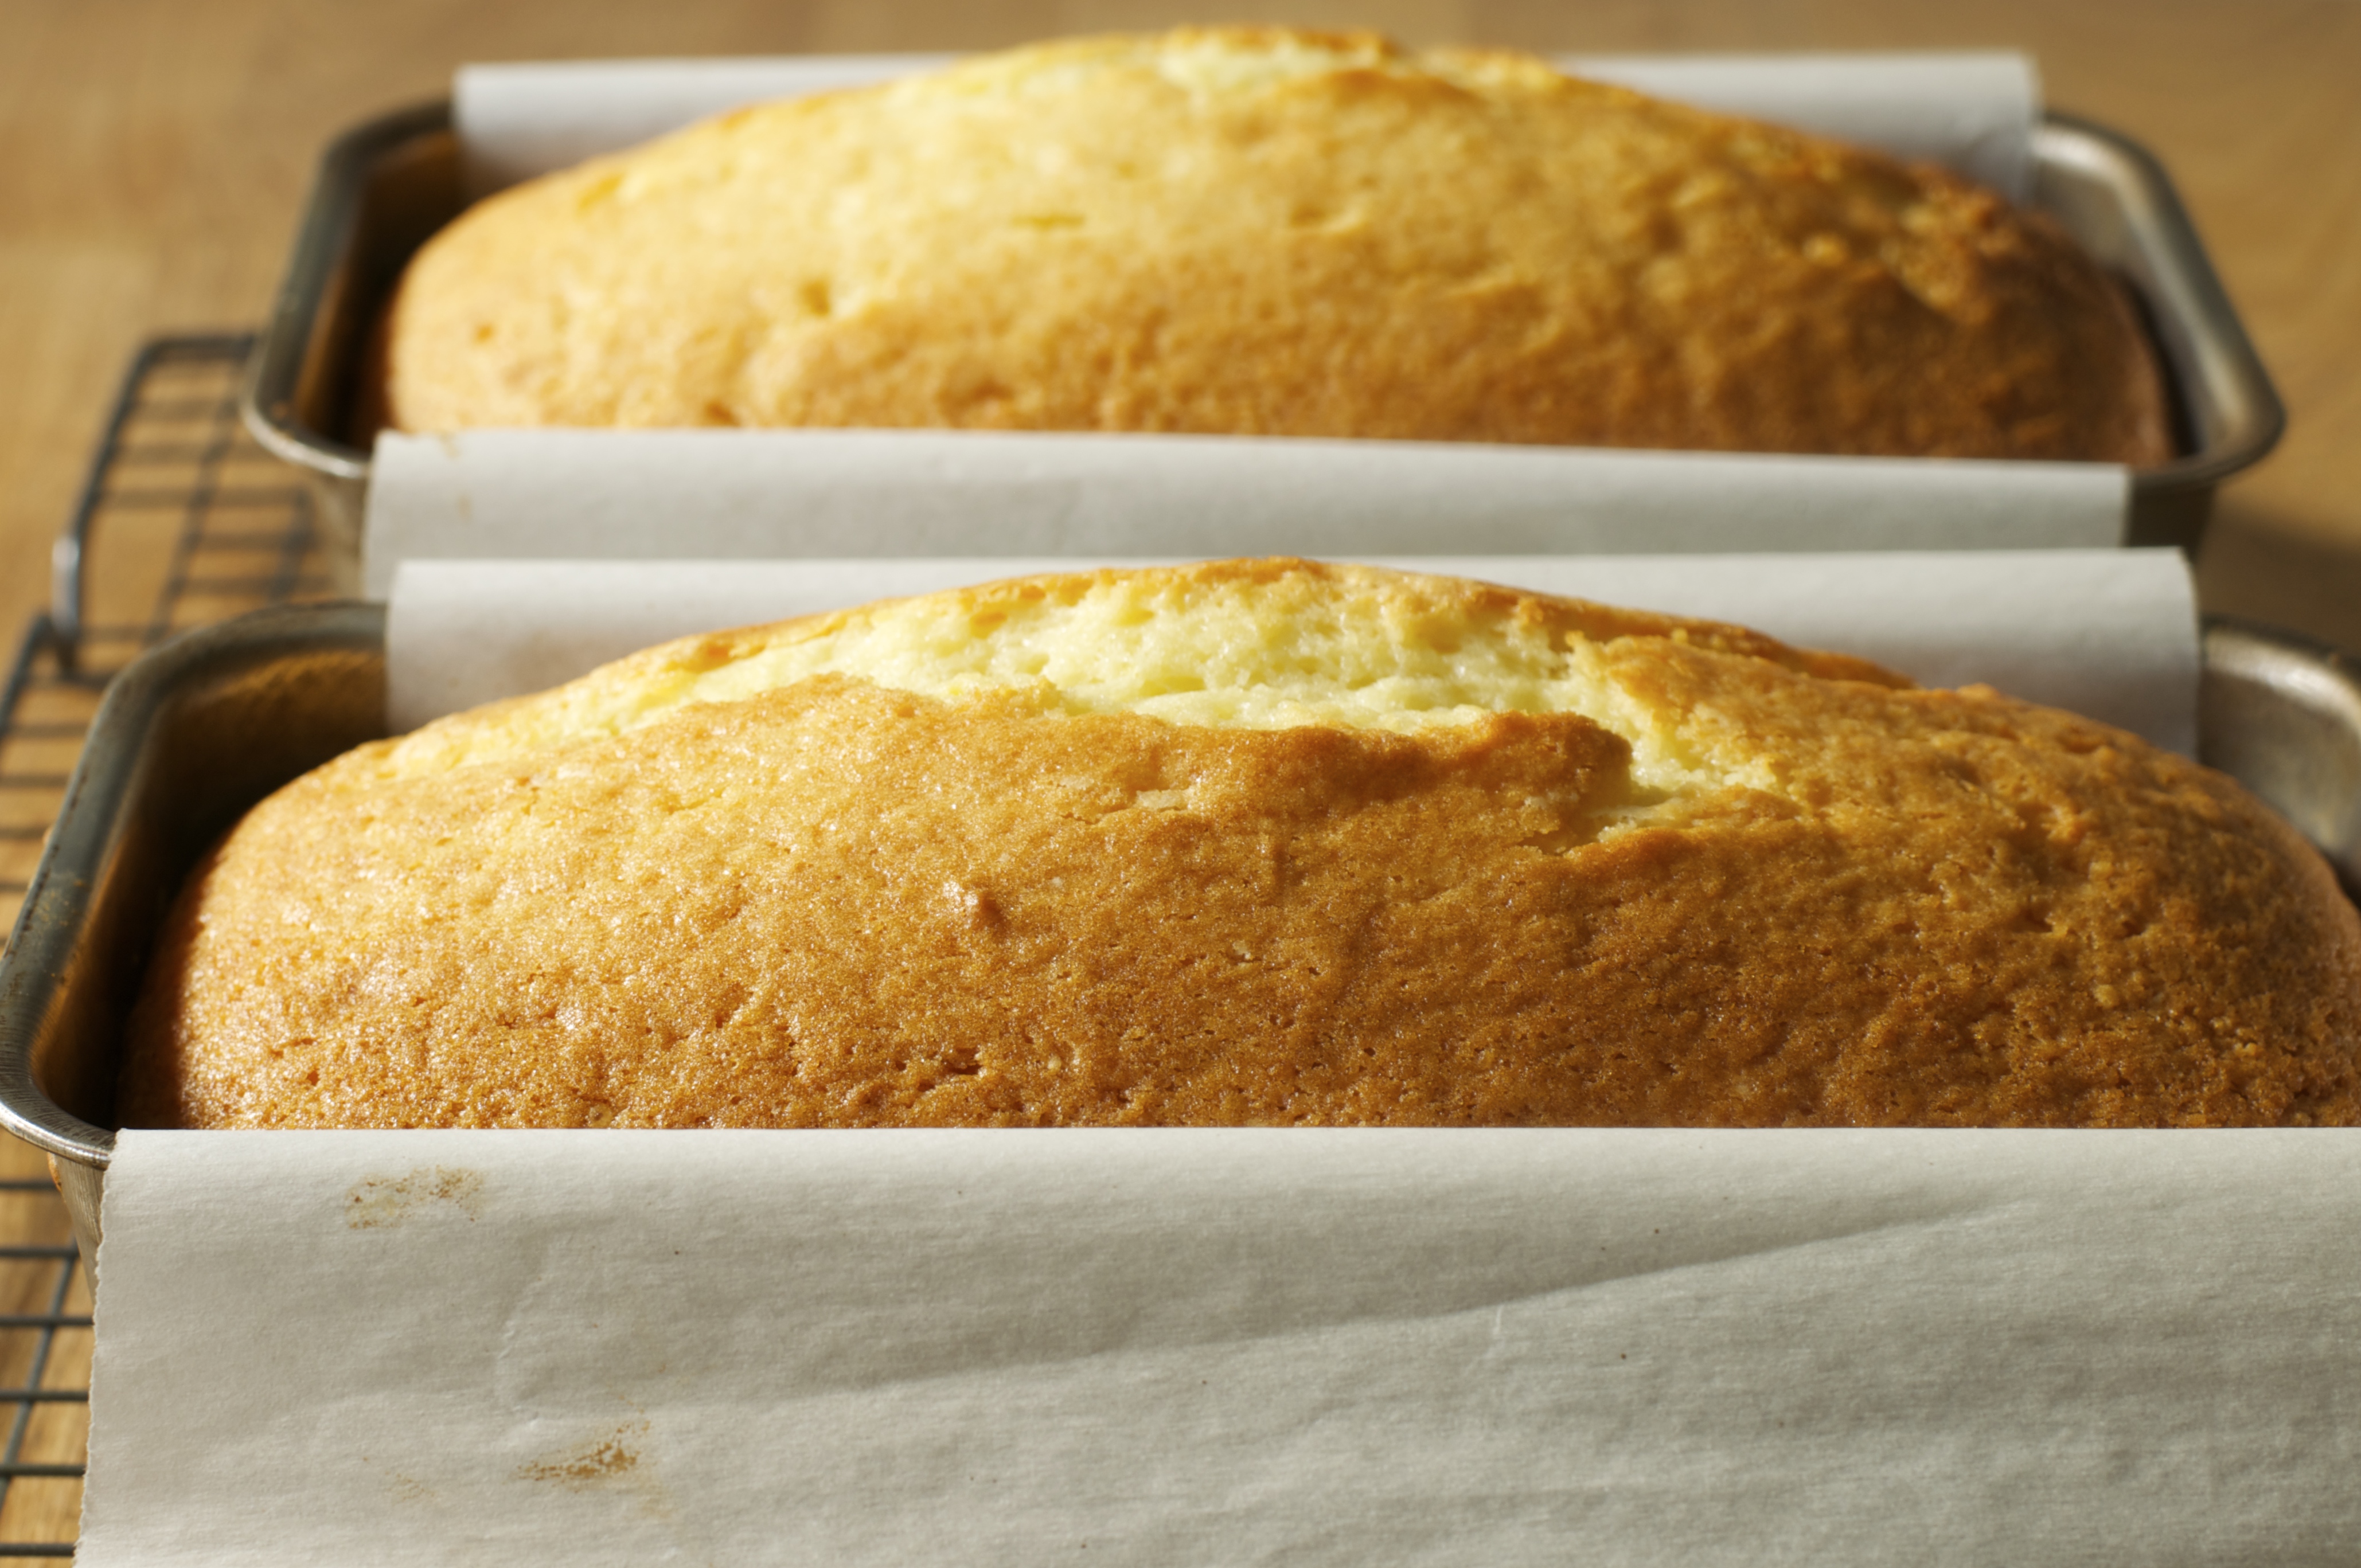
I have only had the pleasure of travelling to Italy once.  We had family friends who had a charming flat at the time in Rome.  From there, we enjoyed the city immensely, always retreating to the lemon tree lined streets of their neighbourhood at dusk.  I couldn’t tell you how old I was or how long we stayed.  I do recall, among other things, drinking limoncello in the countryside as we wound our way through the hills, endless churches which I couldn’t appreciate at the time, constant cigarette smoke, streets that only a single car should have been physically capable of driving down at a time, and the most incredible foods (fried fiori di zucchine for example).  Down the street from the flat was a small delicatessen that, among many other delights, sold both tiramisu and poached pears in foil pans.  To this day, no tiramisu nor poached pear has ever been comparable, but my fond memories inspired me to try to poach pears at home with the following recipe which has been a family favourite ever since.

This recipe is directly out of Jamie Oliver’s Jamie’s Kitchen.  I, however, would offer one adaptation to those of you who think cooking with an amazing $40 bottle of wine is absurd.  I have very successfully made this desert with cheaper dry, full bodied red wines over the years.  Call me a philistine, but I promise you that the result of using a more affordable wine (but never “cooking wine”) in this recipe will still “wow” whoever has been lucky enough to be invited to dinner.  In fact, I used an Argentine Cabernet Sauvignon for this “batch”.

Red Wine Poached Pears with Crème Fraîche

2 vanilla pods
1 bottle Amarone (or another dry, full bodied red wine)
1 1/4 c. sugar
1 small cinnamon stick
1 orange, zest and juice of
1 small bunch fresh thyme
8 Comice pears, peeled and base removed
1 c. and 2 tbsp. butter

Preheat the oven to 375ºF.  Split the vanilla pods and remove the seeds. Put the seeds and pods into an appropriately sized casserole-type pan that will hold all your pears snugly, and add the wine, sugar, cinnamon, and orange juice and zest. Throw in your thyme, secured together in a little bunch with string. Bring to the boil, turn down to a simmer, and add your pears, sitting upright. Put the lid on the pan and bake in the preheated oven for around 1 hour until the pears are soft and tender but not falling apart. They should be soft all the way through but retain their shape. (Sometimes they can take less or more time depending on the ripeness of the pears.) When they’re ready they will have taken on the flavour and colour of the wine and should smell delicious.

By now the wine and the sugar will have thickened and the flavour will have intensified. Remove the pears to a dish, turn up the heat under the pan, and reduce the wine by about half. Remove from the heat and add the butter – agitate the pan but don’t give it any more heat. This will give you a really intense, tasty sauce which is to die for. Put the pears back in the pan and leave until ready to serve. The pears are best served warm with the sauce and a generous dollop of crème fraîche.

Red Wine Poached Pears with Crème Fraîche - A Pat & A Pinch

Dried Cranberry Sticky Toffee Puddings

Cranberry Sticky Toffee Pudding - A Pat & A Pinch


This recipe is from Best of Bridge and is the perfect sized treat for anyone with a sweet-tooth.  Because it is made with dried cranberries as opposed to the traditionally used dates, I like it all the better.   This dessert can be prepared ahead of time, and even frozen, but it is best served warm all of the way through.  Also please note that you will need ramekins in order to make them portion sized.  This recipe serves approximately 8 (unless you enjoy it as much as our family in which case it serves 4 with seconds).

A current trend in cooking is to add a little salt to sweet, so I thought to myself while soaking up the toffee sauce last night that these would likely be marvellous with the addition of bacon as well.  I am sure to most that will sound odd, and to some it will sound brilliant, so if you decide to be the guinea pig and put in some bacon (it will need to be pre-cooked and cooled, chopped finely, blotted with paper towel to remove as much grease as possible) then please let me know how it is.  If this idea sounds sacrilegious to you as it did to my own mother, please forget I mentioned it!

Dried Cranberry Sticky Toffee Puddings

1 cup water

1/2 tsp. vanilla

1/2 tsp. baking soda

1 cup dried cranberries

3/4 cup butter

2/3 cup sugar

2 eggs

1 cup flour

1/4 tsp. baking powder

Toffee Sauce:

1 cup brown sugar

1/2 cup butter

1/2 cup whipping cream

Butter and flour 8, 1/2 cup ramekins. Place in the fridge until needed.

Bring the water to a boil in a saucepan and add the vanilla and baking soda, then add the dried cranberries and set aside to cool.

Cream the butter and sugar until light and fluffy. 
Lightly beat the eggs and gradually add to butter mixture. 
Lightly mix the flour and baking powder together and gently fold into the batter. Fold in the cranberry mixture.

Place the ramekins onto a baking sheet for easy handling. Portion the batter into the ramekins and bake at 350 F for 25 – 30 minutes.

To prepare the Toffee Sauce, combine the sauce ingredients in a saucepan and stir over low heat until the sugar dissolves. Simmer until the sauce thickens.
 To serve, remove puddings from ramekins by running a knife around edge. Invert on plate and drizzle with warm Toffee Sauce.

The puddings can be made ahead, but are, again, best served warm.  They are easily reheated in a 300 F oven.  The sauce can also be made ahead and reheated.

Cranberry Sticky Toffee Pudding - A Pat & A Pinch

Minted Lemon Pappardelle with Butter-Seared Baby Scallops

To celebrate exams being finished and having the luxury of time to cook and enjoy a proper meal, I made one of my favourite pasta recipes today. The recipe is based on a re-creation of a shrimp dish I used to enjoy at a long defunct restaurant. At this point, I don’t think that my dish bears much resemblance to the inspiration dish, other than pasta, lemon and mint. As you may have ascertained looking through my blog posts, I am a huge fan of lemon anything. Adding mint to it takes it up a notch.  The freshness of this dish is the perfect compliment to the approaching warm weather and sunshine.

Minted Lemon Pappardelle with Butter-Seared Baby Scallops - A Pat & A Pinch

Minted Lemon Pappardelle with Butter-Seared Baby Scallops - A Pat & A Pinch

Minted Lemon Pappardelle with Butter-Seared Baby Scallops

Serves: 4

1 large shallot, yielding 3 tablespoons finely chopped

1 tablespoon olive oil

1 cup white wine

4 cups chicken stock

500 grams fresh pappardelle or linguine

5 tablespoons butter, 3 of which should be kept cold.

400 grams scallops

zest and juice of 2 or 3 large lemons (2 -3 teaspoons zest, 3 tablespoons juice, to taste)

salt and pepper, to taste

generous handful of chopped fresh mint

Saute the shallots in the olive oil in a large sauté pan or frying pan until translucent. Deglaze the pan with the wine. Add the chicken stock and lemon zest. Simmer vigorously to reduce to 1 1/2 to 2 cups of liquid. Season with salt and pepper to taste. Set to the side in the sauté pan.

Drain and dry the scallops. Heat a skillet on high heat. When hot, reduce the heat to medium and add 2 tablespoons of the butter allowing it to melt and coat the surface of the skillet. Brown the scallops on one side, turn to brown the other side. Do not over cook. Remove from the pan and set to the side, reserving the browned butter.

Cook the fresh pasta as directed on the package. Drain.

Re-heat the reduced liquids in the sauté pan. Add the lemon juice and reserved butter and browned bits from the scallops to the sauce, stirring to incorporate. Taste for seasoning. Whisk in the remaining 2 tablespoons of butter. Add the drained pasta, scallops and mint turning gently to marry them. Serve with a glass of crisp white wine.

Minted Lemon Pappardelle with Butter-Seared Baby Scallops - A Pat & A Pinch

I also make this pasta substituting cooked salmon or shrimp for the scallops. I increase the cold butter slightly depending on whether there are juices with oil or butter resulting from their preparation that I can incorporate into the sauce.

Black Pepper and Cheese Biscotti

It’s exam time which means it is snack time and I desperately needed a break from studying and a snack. Making these delicious biscotti was the perfect solution – not healthy, but very satisfying. A warning, you have to love pepper or you will find the pepper too dominant in these delights.

Black Pepper & Cheese Biscotti - A Pat & A Pinch

This recipe is adapted from the Parmesan Black Pepper Biscotti recipe found on the blog Smitten Kitchen which in turn was adapted from Gourmet, December 2006. Being somewhat lactose intolerant, I prefer to make it with a Pecorino Romano which I find easier to tolerate. This time I made it with a lactose free Bella Lodi that I found at the Chop Shop at the Root Cellar here in Victoria. The recipe yields 5 to 6 dozen biscotti but I often cut the recipe in half.

Black Pepper and Cheese Biscotti

1 1/2 tablespoons whole black peppercorns

4 cups all-purpose flour plus additional for dusting

2 teaspoons baking powder

2 teaspoons salt

4 1/2 oz hard cheese such as Parmigiano-Reggiano or Pecorino Romano, finely grated (2 1/4 cups)

1 1/2 sticks (3/4 cup) cold unsalted butter, cut into 1/2-inch cubes

4 large eggs

1 cup milk

Special equipment: an electric coffee/spice grinder or a mortar and pestle

Put oven racks in upper and lower thirds of oven and preheat oven to 350°F. Pulse peppercorns in grinder or grind in a mortar until coarsely ground.

Whisk together flour, baking powder, salt, 2 cups cheese, and 1 tablespoon ground black pepper in a large bowl. Blend in butter with a pastry blender or your fingertips until mixture resembles coarse meal. Whisk 3 eggs with milk and add to flour mixture, stirring with a fork until a soft dough forms.

Turn dough out onto a lightly floured surface and quarter dough. Using well-floured hands, form each piece into a slightly flattened 12-inch-long log (about 2 inches wide and 3/4 inch high). I find that this is most easily accomplished by forming the dough into a 12-inch sausage with my hands and then flattening the sausage to a rectangle on the floured counter or board. Transfer the logs to 2 parchment-lined or ungreased large baking sheets, arranging logs about 3 inches apart. Being a fan of easy cleanup I prefer to use parchment.

Whisk remaining egg and brush some over logs, then sprinkle tops of logs evenly with remaining 1/4 cup cheese and 1/2 tablespoon ground pepper. Bake, rotating sheets 180 degrees and switching position of sheets halfway through baking, until logs are pale golden and firm, about 30 minutes total. Cool logs to warm on sheets on a rack, about 10 minutes.

Reduce oven temperature to 300°F.

Carefully transfer 1 warm log to a cutting board and cut diagonally into 1/2-inch-thick slices with a serrated knife. Arrange the slices, cut sides down, in 1 layer on a baking sheet. Repeat with remaining logs, transferring slices to sheets. Bake, turning over once, until golden and crisp, 35 to 45 minutes total. Cool the biscotti on baking sheets on racks, about 15 minutes.

Black Pepper & Cheese Biscotti - A Pat & A Pinch

These would be perfect with a glass (or two) of red wine and are a simple solution to those events where you are asked to bring an appetizer. As my son moves into grade school, I anticipate that this will be a go-to recipe for bake-sales aimed at adults. For now, they are the perfect escape from studying.

Ginger Spice Cookies

Today, I craved something sweet, something spicy, something delicious to overcome the dreary day and something to inspire me to read more cases for school.  The solution: these ginger cookies which are an adaptation of a recipe with the same name from Epicurious.

DSC_0002The candied ginger in these cookies is what takes them beyond the standard ginger cookie. They have a lovely texture, neither too crisp nor too chewy and they go so well with a cup of tea or coffee or even a glass of milk.

DSC_0021

Ginger Spice Cookies

2 ¼ cups  all purpose flour

2 ½ teaspoons  ground ginger

2 teaspoons baking soda

1 teaspoon ground cinnamon

1 teaspoon ground cloves

3/4 teaspoon  salt

¾ to 1 cup crystallized ginger depending on your taste and the size of the chunks (for finer chunks, use less)

1 cup dark brown sugar, packed (I use whatever brown sugar I have on hand, light or dark)

3/4 cup unsalted butter — (1 1/2 sticks) room temperature

1 large egg

1/4 cup molasses

White sugar to roll cookies in

Using a food processor, pulse the crystalized ginger and ¼ cup of the flour together until the ginger is crumb-like.

Combine the remaining 2 cups of flour and the next five ingredients in a medium bowl, blending with a spoon or whisk. Mix in the crystallized ginger and flour mixture.

Using an electric mixer, cream the butter and brown sugar in a large bowl until fluffy. Add the egg and molasses, beating until blended. Add the flour mixture and mix just until blended. Cover and refrigerate for at least 1 hour.

Preheat the oven to 350F. Line 2 baking sheets with parchment paper. Spoon the white sugar in thick layer onto a small plate or flat bowl. Using your hands, form the dough into 1 1/4-inch balls, rolling each in the sugar to coat completely. Place the coated balls on the prepared sheets, spacing 2 inches apart.

Bake the cookies until just beginning to crack on top but still soft to touch, about 12 minutes in a conventional oven. Cool on sheets at least 1 minute before carefully transferring to racks and allowing to cool completely.

Don’t be surprised when the cookies fall a little while cooling – this is to be expected.

DSC_0014


Doreen’s Lemon Loaf

Doreen's Lemon Loaf - A Pat & A Pinch

It has been some time since I posted – law school is definitely time consuming.  Today, however, I needed a break from trying to understand the rule against perpetuities and wanted to make something simple and with good memories.  My grandmother’s lemon loaf was the perfect solution.  My grandmother, Doreen, wasn’t a great cook, but she made a few things that have definitely stuck around as favourites for me.  Two of them involved lemons, this cake and a lemon meringue pie that was to die for.  This is easy. The lemon meringue pie is more complicated.

Any type of lemons will work, but I had a bag of meyer lemons that I decided to use. The recipe calls for one lemon, I used 3 but they were small and not the juiciest.  As my dad says, you can’t have too much lemon.

Usually I spend a great deal of time on the photographs, but right now I don’t have the luxury of time, so I have gone to my point and shoot. I hope that the photo still entices you to give this simple and yummy recipe a try!

Doreen's Lemon Loaf - A Pat & A Pinch

Doreen’s Lemon Loaf

6 tablespoons butter

1 cup sugar

2 eggs, beaten

1 lemon, zested and juiced

½ cup milk

1 ½ cups flour

1 ½ teaspoons baking powder

¼ teaspoon salt

1/3 cup sugar (for glaze)

Preheat the oven to 350F. Line a 8.5×4.5″ loaf pan or two smaller loaf pans with parchment paper.  I prefer to use two small pans and reduce the baking time.

Cream the butter and sugar together in a bowl.  Add the beaten eggs, lemon zest, and milk to the creamed mixture.  Sift together the dry ingredients (excluding the sugar for the glaze).  Mix the dry ingredients into the liquid ingredients.  Pour the batter into the loaf pan and bake for one hour or until a toothpick inserted into the center comes out clean. I sometime find that it helps to lay a piece of parchment over the pan after the loaf begins to brown, to prevent over-browning. Remove the loaf from the oven.

Mix together the lemon juice and 1/3 cup sugar.  Carefully loosen and remove the still-warm loaf from the pan discarding the parchment paper. Return the loaf to the pan, pouring the lemon sugar glaze over it.  Allow the loaf to cool and absorb the liquid.  Remove the loaf from the pan when the liquid is absorbed. Cut, serve and enjoy with a cup of tea.