Sticky buns

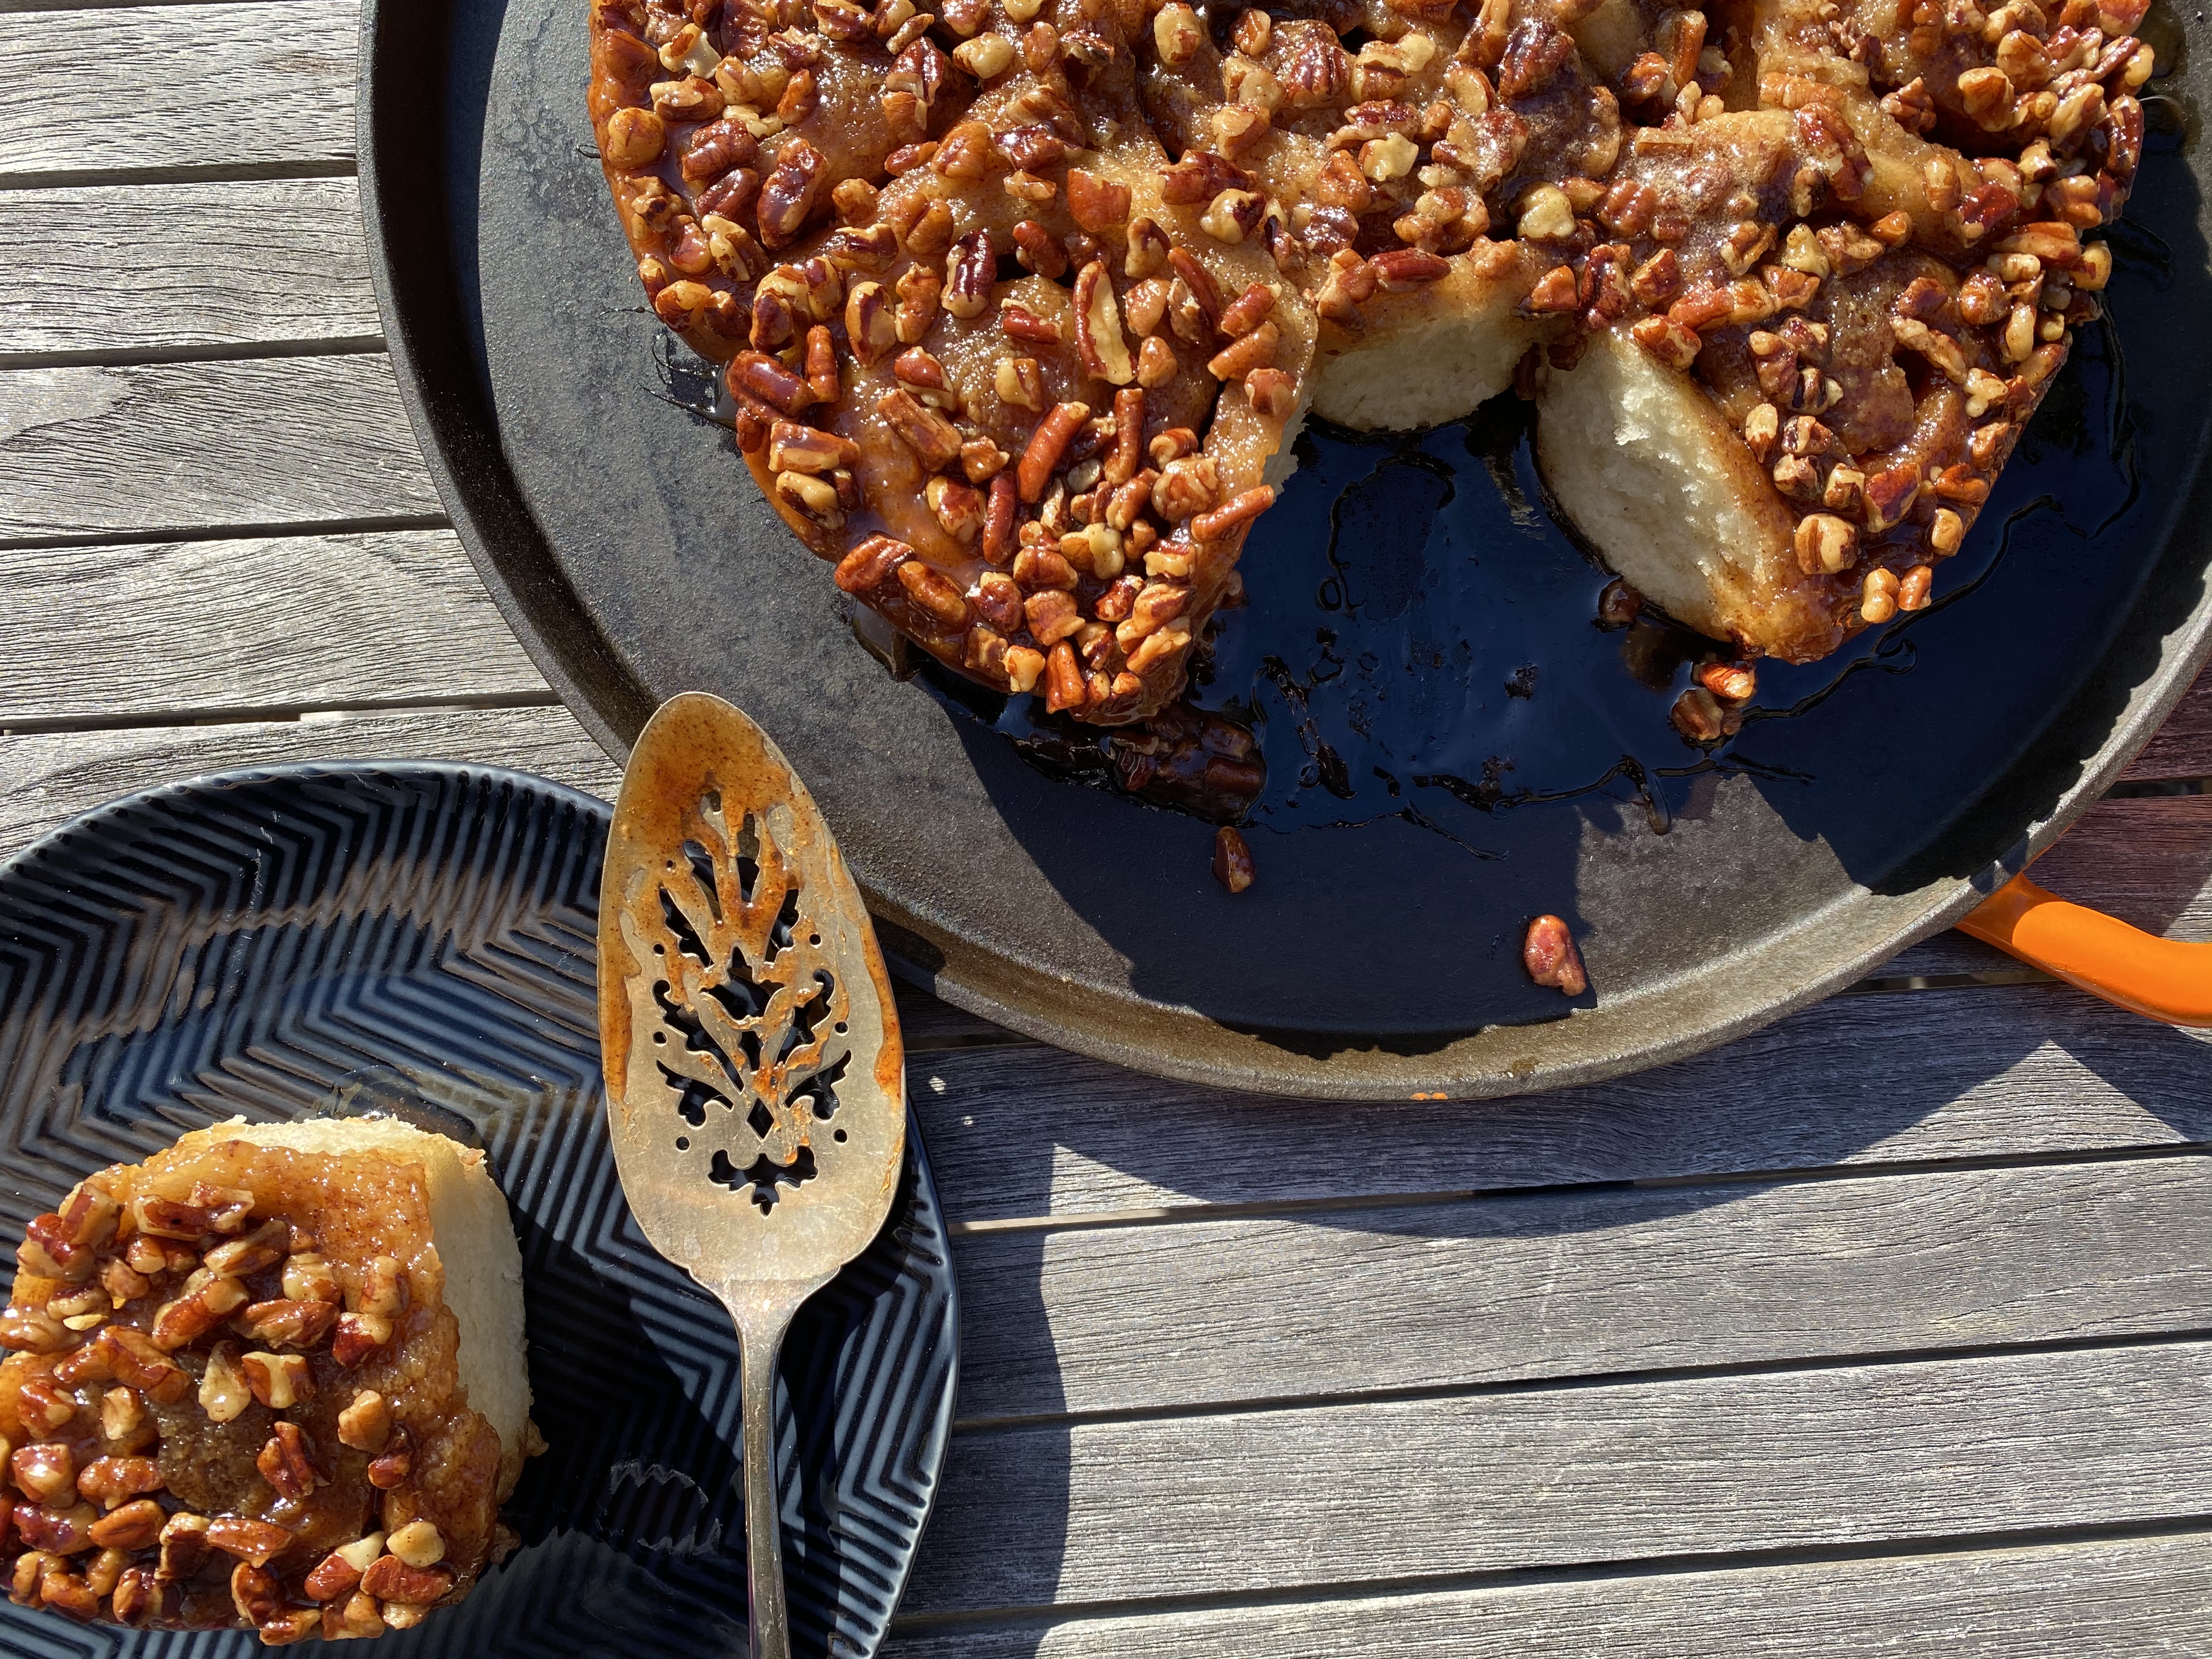
Long time sticky bun fanatic here (sorry, but cinnamon buns just can’t compete). For my first attempt, I decided to try out I Heart Eating‘s recipe with the only adaptation of using dry active yeast and preparing them the night before. They were ooey gooey perfection which I plan to make again and again!

INGREDIENTS

DOUGH

1/3 cup milk

3 tablespoons granulated sugar

1/3 cup butter

3 1/2 teaspoons active dry yeast

3/4 cup warm water (105F – 115F)

3 cups all-purpose flour

1/2 teaspoon salt

FILLING

3/4 cup brown sugar (packed)

1/4 cup granulated sugar

1 tablespoon cinnamon

1/4 cup butter (softened)

TOPPING

6 tablespoons butter (melted)

½ cup brown sugar (packed )

¼ cup granulated sugar

¼ cup dark corn syrup

¼ teaspoon salt

2 tablespoons water

1 cup coarsely chopped pecans (optional)

DIRECTIONS

Line a 10-inch springform pan with a single piece of parchment paper, creasing along the edges to assist with fitting, set aside.

Mix yeast and warm water with a pinch of sugar. Allow to sit and froth for about 5 minutes.

Meanwhile, in a small saucepan over low heat, mix milk, sugar and butter just until butter melts and sugar dissolves. Cool to about 100-105 F.

Pour the milk mixture into the bowl of a stand mixer. Add the yeast mixture followed by 2 cups flour and salt. Using a dough hook, mix on low speed for about 1 minute.

With the mixer still going, add remaining flour, 1/2 cup at a time. Mix until dough starts to clean the sides of the bowl, scraping occasionally as necessary. Knead on low speed for about 2 more minutes, or until dough is smooth, elastic and slightly sticky to the touch.

Place dough in an oiled bowl, turning it to ensure the entire boule is oiled. Cover the dough with a plastic wrap and then a clean, dry dish towel. Let the dough rise in a warm place for about 10 minutes.

While the dough is rising, stir together the filling ingredients.

Turn the dough onto a well-floured surface, and roll into a 12×16-inch rectangle.

Spread the filling over the dough, gently pressing it into the dough. Leave a 1″ strip without filling on one of the 16-inch sides. Roll dough up lengthwise, gently pinching the seam to seal.

Oil the roll to prevent sticking and tightly wrap in plastic wrap, followed by heavy aluminium foil and place in the refrigerator overnight.

In the morning, pull out the roll and unwrap it. The plastic wrap may have torn slightly from rising overnight and this is fine.

Preheat the oven to 350 F.

Prepare the topping. Whisk melted butter, brown sugar, granulated sugar, corn syrup, and salt together in medium bowl until smooth. Add water and whisk until combined.

Pour topping mixture into lined pan and sprinkle evenly with pecans. Cut roll into 12 pieces, and place over topping in prepared baking dish.

Cover the pan with the dish towel, and let the dough rise for about 15 minutes.

Bake for 30 minutes, or until the rolls are golden brown. Tent with aluminum foil, and continue to bake for an additional 10-15 minutes, or until baked through.

Let the sticky buns cool in pan for 5 minutes. Place a serving dish over the pan, and carefully invert pan. Remove pan, and replace any topping that has fallen off.

Allow buns to sit 10-15 minutes before serving.

Spiced Apple Butter

Spiced Apple Butter - A Pat & A Pinch

My parents live on a property that has the remnants of an old orchard.  The apple trees are larger than ideal and you can tell that they have witnessed a lot of history but they still produce apples.  This weekend the Gravensteins were ready to be picked. Gravensteins are a tasty eating apple, but they aren’t any good for pies. With a bumper crop, they needed to be used and what better solution than apple butter.

Choose a day when you can be home all day to make apple butter: It takes a long time to cook! Mine cooked all day – a good 12 hours in total but I think that that was largely due to the volume I made which necessitated starting it on the cooktop and then shifting it to the oven. It needs to be stirred regularly, but other than the stirring it requires little attention. If I was making a smaller batch, I would simply use the oven or a crock pot – it is so much less effort and requires so much less attention!

I can’t give you a specific recipe for apple butter – it depends on what type(s) of apples you have and how many of them you have.  The good news, however, is that you really don’t need a recipe.

I peeled, sliced  and cored my apples using a peeling and coring gizmo like this.  It yields a spiral sliced apple that I then cut into quarters.  If you have a food mill, you can slice your apples whole with peel and then run the cooked mixture through the mill, but I find beginning with prepared apples easier.

I filled a heavy bottomed 17 litre stock pot to within 2 inches of the top with the apples and added 2 litres of some soft apple cider from a previous year’s bounty that we keep frozen until needed. You could also simply start with a little water or commercial apple juice. I put the pot on low on the cooktop and began to let it cook. The fruit broke down into an applesauce quite quickly.  Gravensteins do break down easily but if you have an apple that doesn’t, you can easily break it down with an immersion blender or with a food mill.

I added spices to taste: my choices were cardamom, cinnamon, cloves and some ground ginger.  For my first batch, I used whole spices tied up in cheese cloth and then supplemented with ground spices.  For the second batch, I went straight to the ground spices. Remember that the apples are going to be reduced by at least half, so the spices you add will concentrate.  You can always add more spices later in the process if you find that you would like more.

As the fruit cooked down, I tasted it for sweetness and added brown sugar to my taste. Again, it is important to remember that the apples will reduce, so be careful not to over sweeten.

When my mixture had reduced by about half, I put it into two uncovered dutch ovens which I placed in a 250 degree F oven.  I continued to cook down the mixture, but in the oven it only needed to be stirred hourly.

The apple butter is done when it is very thick. You can almost slice the mixture and it will retain the “cut”.  By the time it reaches this consistency it is a lovely rich reddish brown colour.

I poured the hot mixture into hot canning jars, filling them to within a quarter inch of the top. I then quickly placed the lids on top.  All of the jars sealed without the need for an additional canning process.

My son loves this on pancakes, but I use it liberally on anything and everything that lends itself well to jam.

Spiced Apple Butter - A Pat & A Pinch