My mother has always been a phenomenal cook and aside from a handful of family recipes, she has honed her skills putting hours of love and dedication in in the kitchen. This recipe was taught to her in a cooking course at an Italian restaurant in Chicago that has been long since forgotten by our family aside from these. They are not your everyday spongecake strawberry shortcakes, but rather are marzipan filled sweet biscuits which are more traditional, photogenic, and delicious than their modern bakery aisle counterpart.
This recipe, depending on the size of each shortcake you choose, makes approximately 8-10 shortcakes.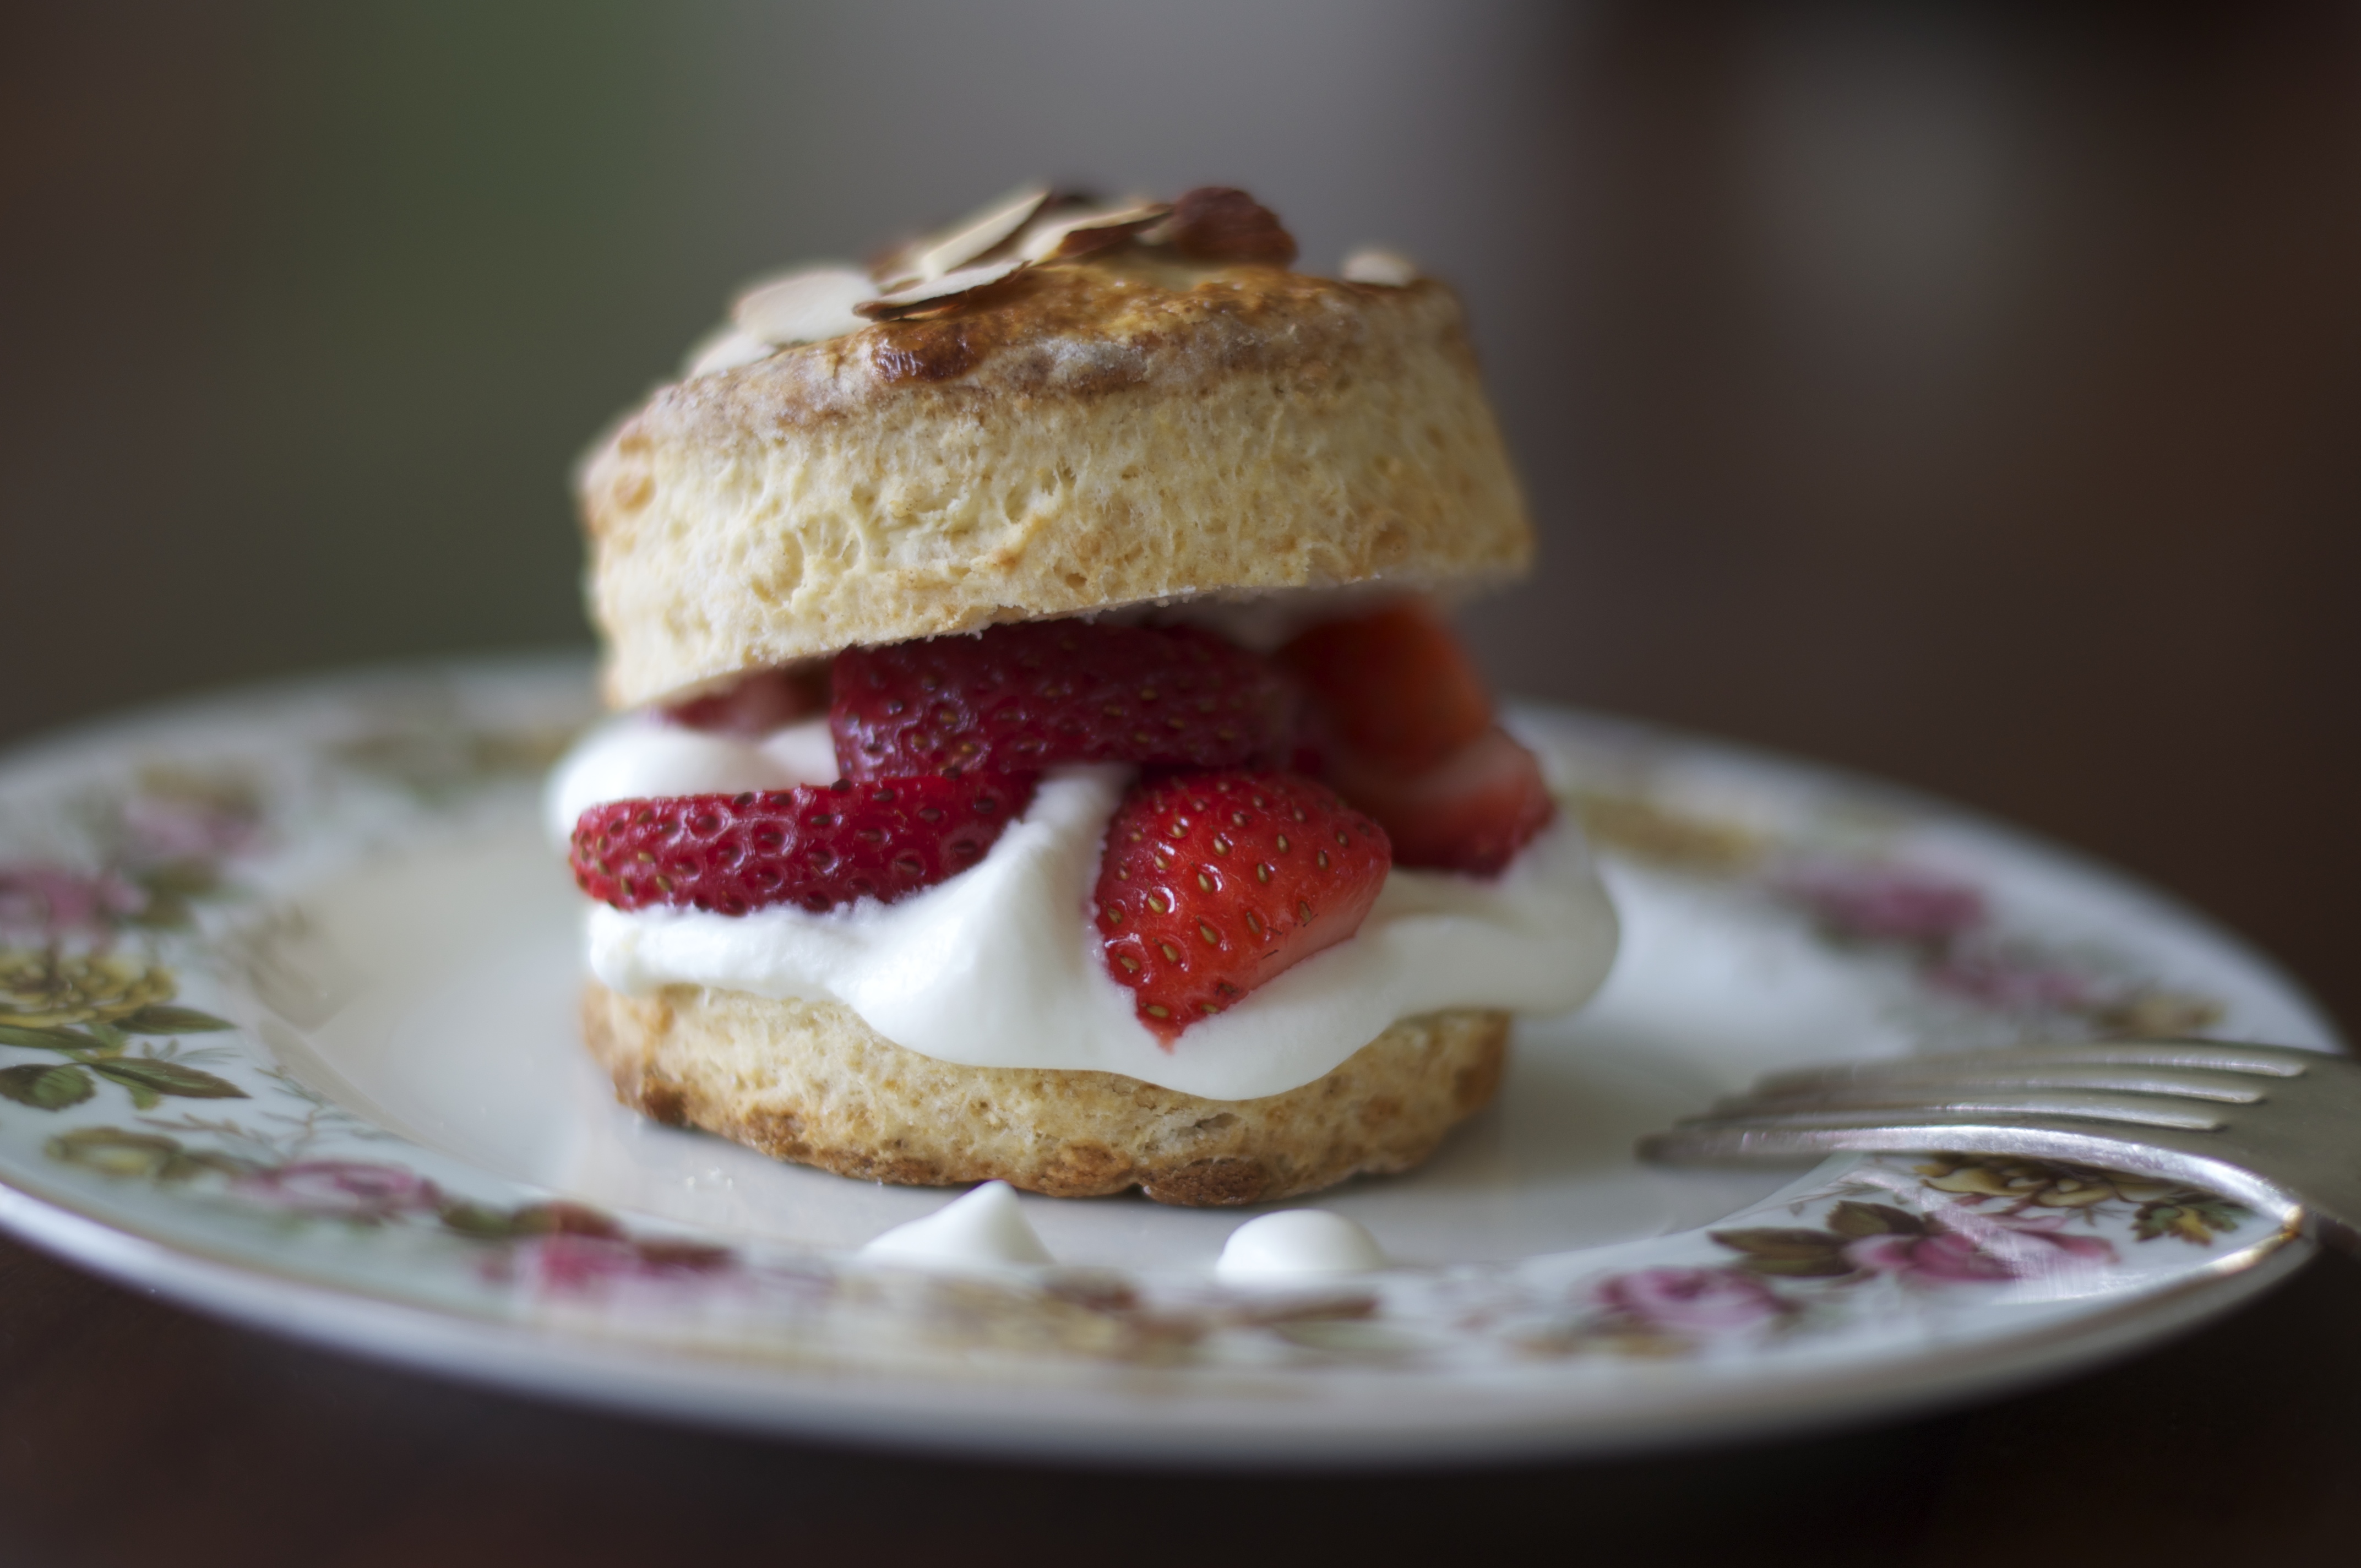
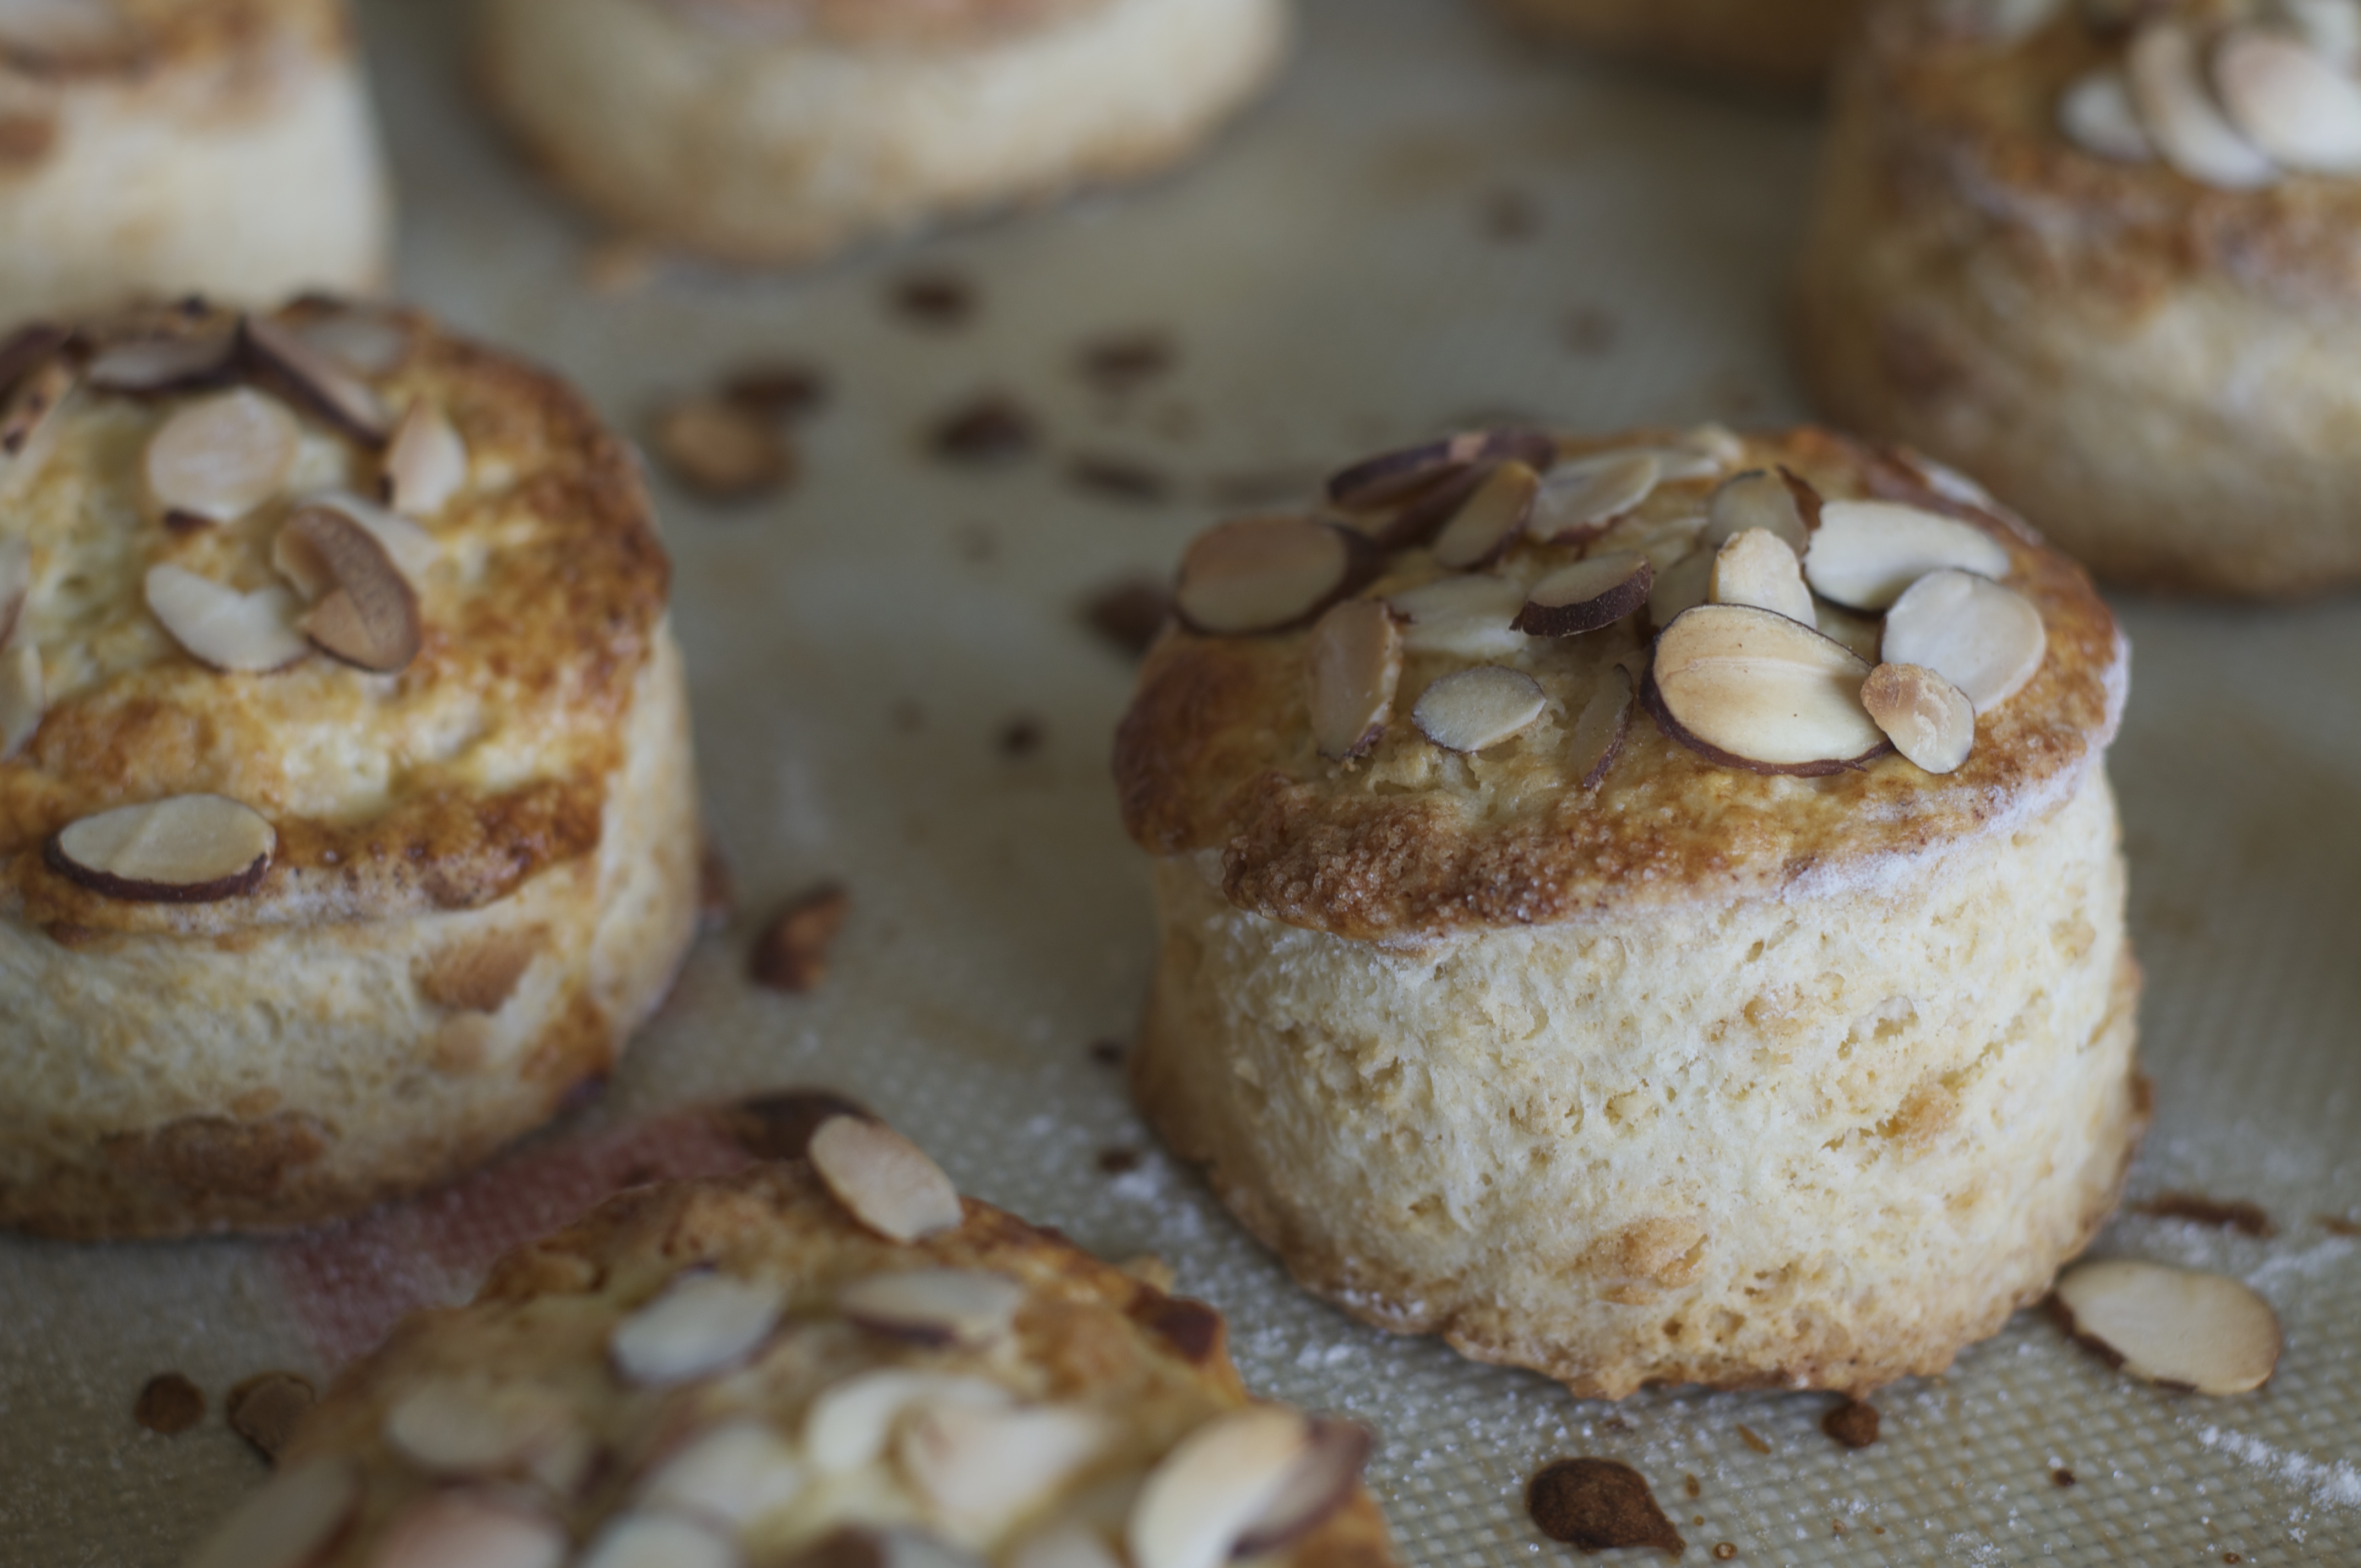
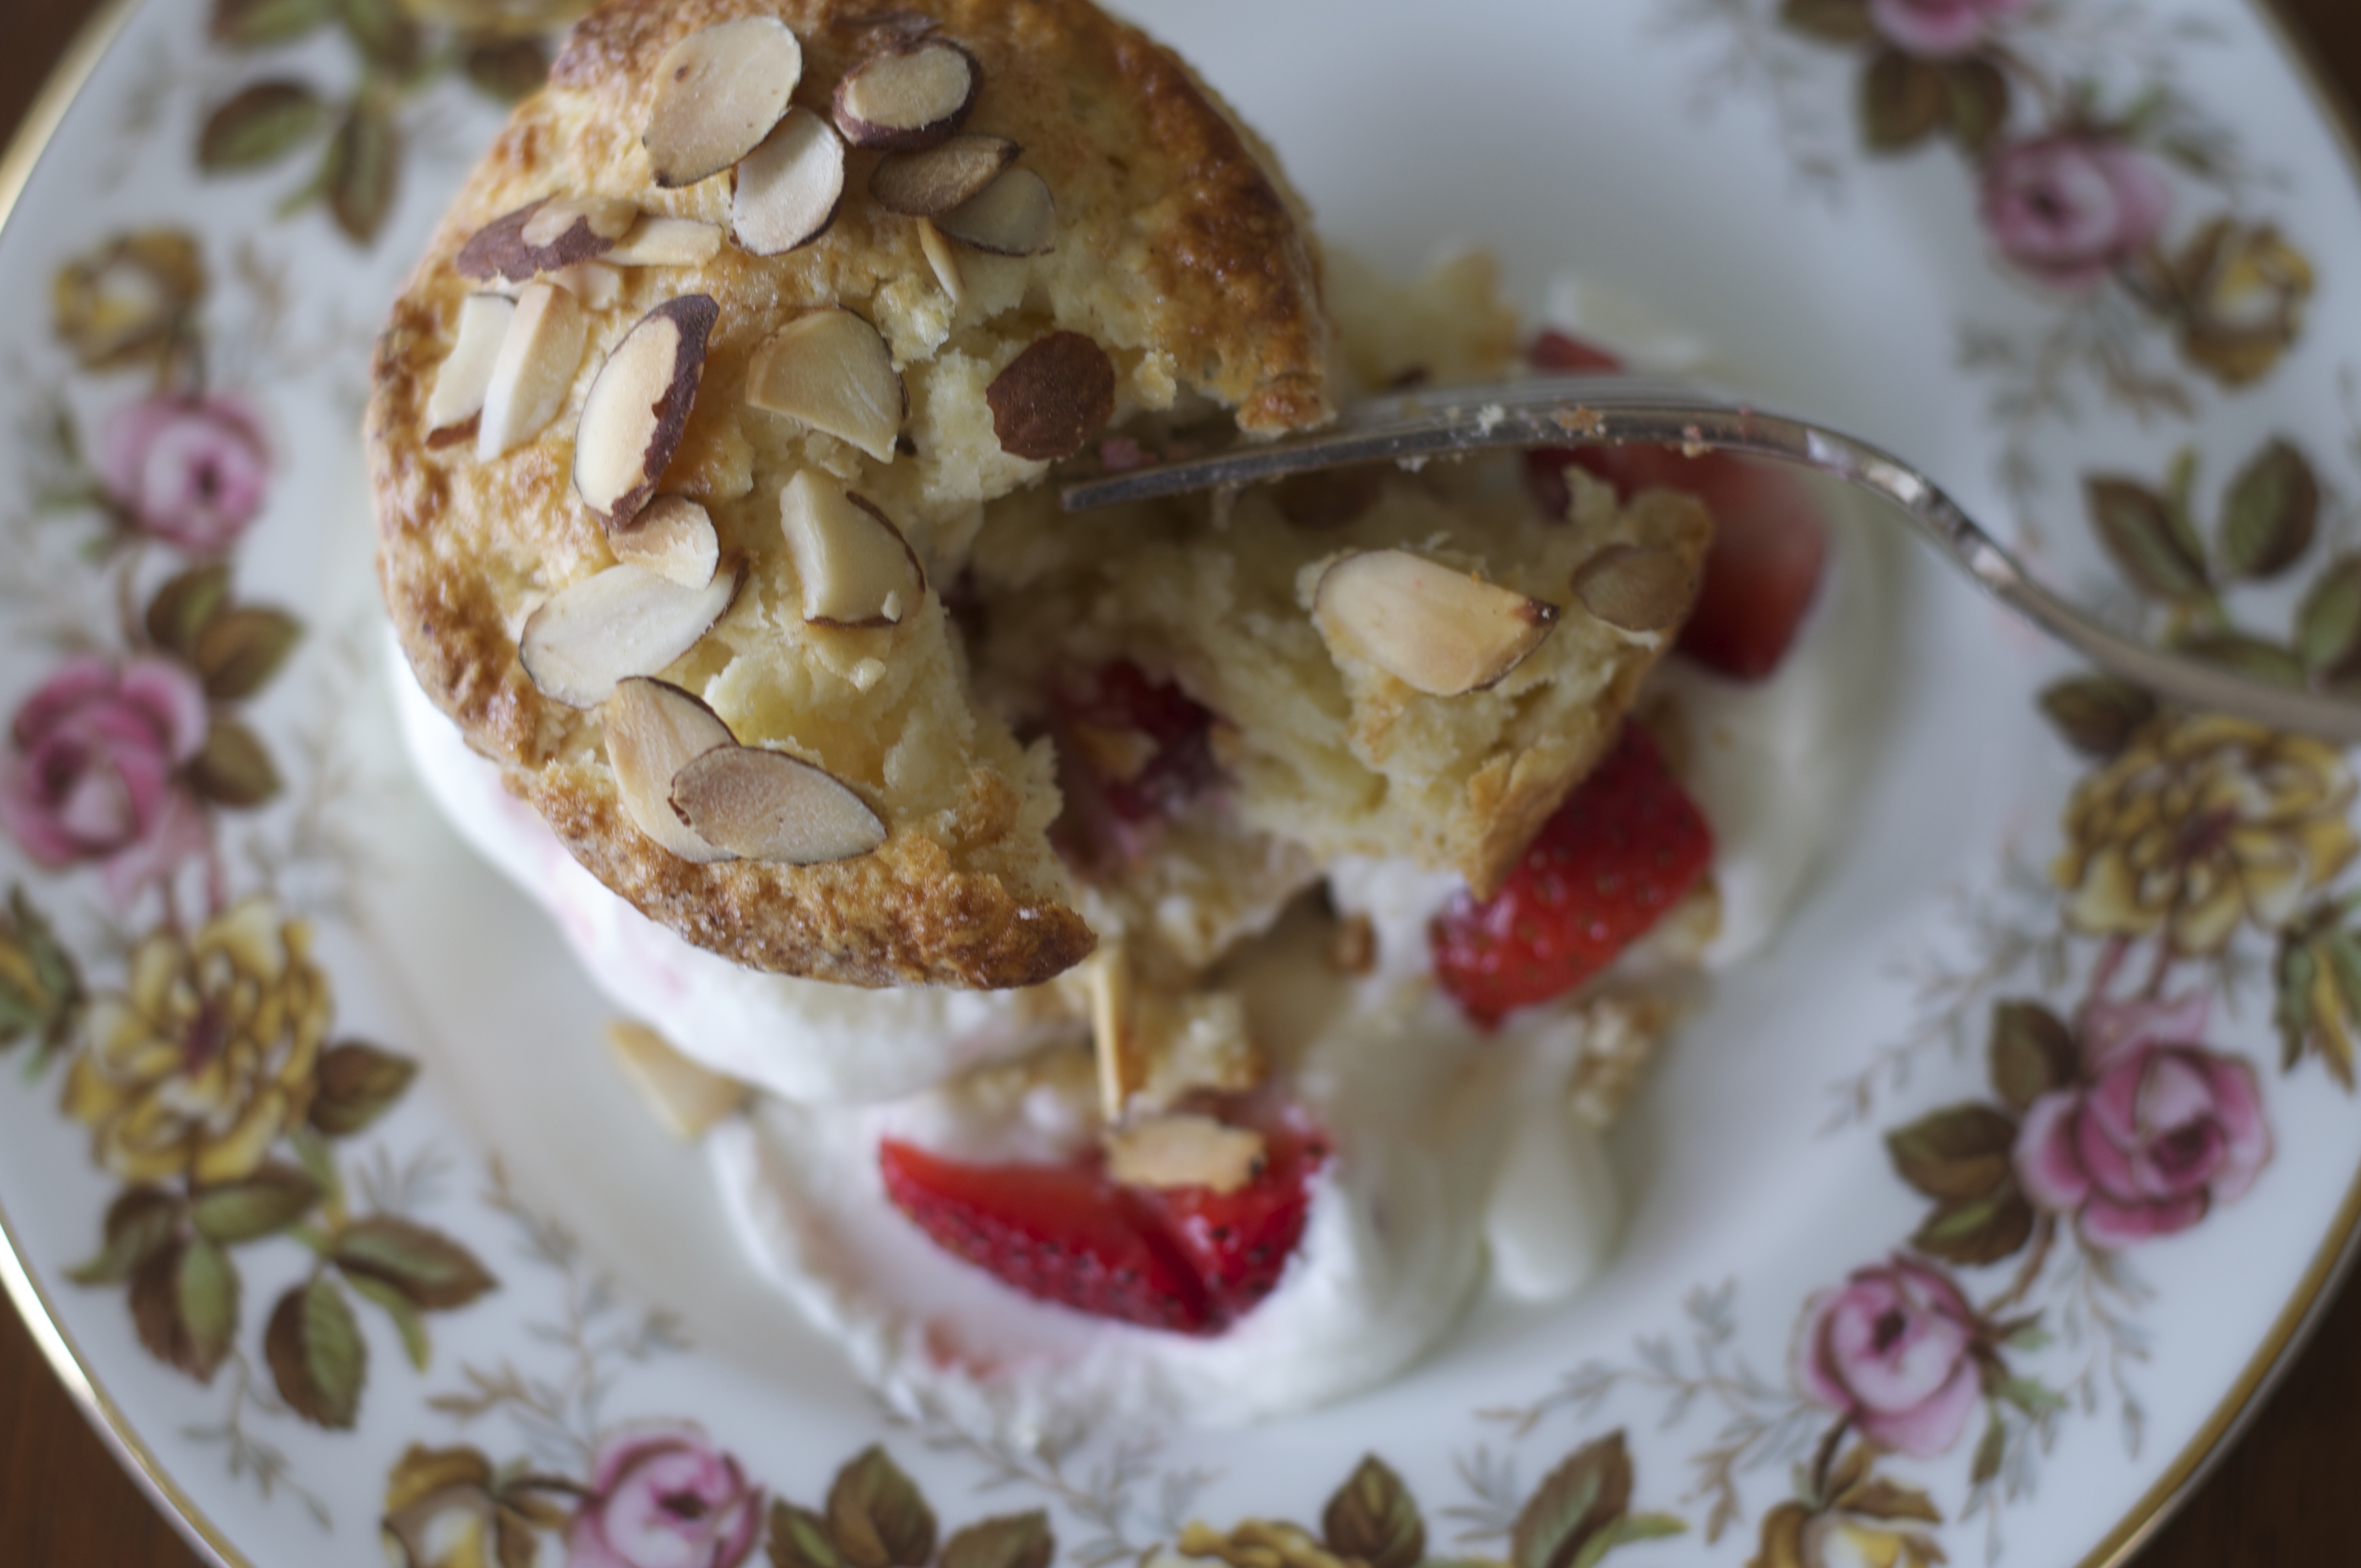
Marzipan Strawberry Shortcakes
2 3/4 cups all-purpose flour
1/3 cup plus 1 tablespoon sugar
3/4 teaspoon salt
2 tablespoons baking powder
4 ounces butter, cold
4 ounces almond paste broken into small chunks
1/2 cup buttermilk
2 whole eggs
1/2 teaspoon almond extract
sliced almonds
To serve:
Fresh berries
Whipping cream
Heat the oven to 350 F. A convection oven is preferred but not necessary.
Stir together the flour, 1/3 cup sugar, salt and baking powder. When this is incorporated, slowly work in the almond paste and the cold butter that has been cut into pieces. Work this together until the mixture appears to be like a coarse meal.
In a mixing bowl, whisk together the buttermilk, eggs and the almond extract. When this is incorporated, add the liquid ingredients to the dry ingredients. Mix only until the dough starts to form. You will probably not need all of the liquid ingredients.
Knead the dough slightly. Pat the dough out to a one inch thickness using as little flour as needed so that the dough does not stick to the work surface.
Using a round cutter, cut the dough into individual servings. It is helpful to dip the cutting edge of the cutter in flour prior to making each cut. Place the round disks onto a lightly greased flat baking pan or a pan lined with parchment or a silpat. Brush the tops with the left over liquid and sprinkle with the sliced almonds and the remaining 1 tablespoon of sugar.
Bake for about 20 minutes or until golden brown.
Allow to cool. Slice horizontally and fill with berries and whipping cream as desired.