Rugelach

A Pat & A Pinch - RugelachI first experienced rugelach when a child living in Princeton NJ. My parents used to buy them at the local grocery store, Davidson’s (which sadly closed in 1997). My mother doesn’t eat walnuts which are frequently in rugelach fillings, but Davidson’s had a version with hazelnuts and raspberry jam that she loved. I thought it would be a good idea to replicate them.

For the pastry, I went to the excellent blog Smitten Kitchen, which offers a pragmatic approach to rugelach pastry and favours a simple log sliced into bite size morsels and other log variations. However, I still prefer the traditional crescent rolls to the sliced logs. The filling is my own concoction.

If hazelnuts and raspberry aren’t your ideal of a rugelach filling, the world is your oyster. There are many sweet filling choices and I’ve seen some interesting suggestions for savoury rugelach fillings.

One of the great things about rugelach is that they can be made in stages. The pastry can be made several days ahead of assembly and the rolled cookie can be chilled for a day or frozen (before applying the egg finish) for up to a week before baking.  They are best eaten in the first few days after baking, so freezing some of the unbaked ones is a good idea if you want them at their best. It is easiest to freeze the log version, but the crescents can also be frozen.

Rugelach

Dough

2 cups (260 grams) all-purpose flour

1/2 teaspoon fine sea or table salt

1/2 pound (225 grams) unsalted butter

1/2 pound (1 8-ounce or 225-gram package) cream cheese

Filling

1 jar seedless raspberry jam (you won’t use the whole jar)

1 cup hazelnuts, blanched and roasted and chopped very finely

1/4 cup brown sugar, packed

1 1/2 tsp ground cinnamon

Finish

1 egg beaten with 1 teaspoon water or milk

Turbinado or white sugar

Make the dough:

Place flour and salt in a food processor bowl fitted with standard blade. Pulse to combine. Add cream cheese, chopped into large chunks, and run machine until it’s fully dispersed into the flour. Add butter in large chunks and run machine just until dough starts to clump. Dump out onto a clean counter or cutting board and form into four flattish discs. Wrap each disc with plastic wrap.

Chill dough until totally firm — about 2 hours in the fridge you can hasten this along in the freezer for about 30 minutes. (Dough keeps in fridge for up to a week, and in freezer much longer.)

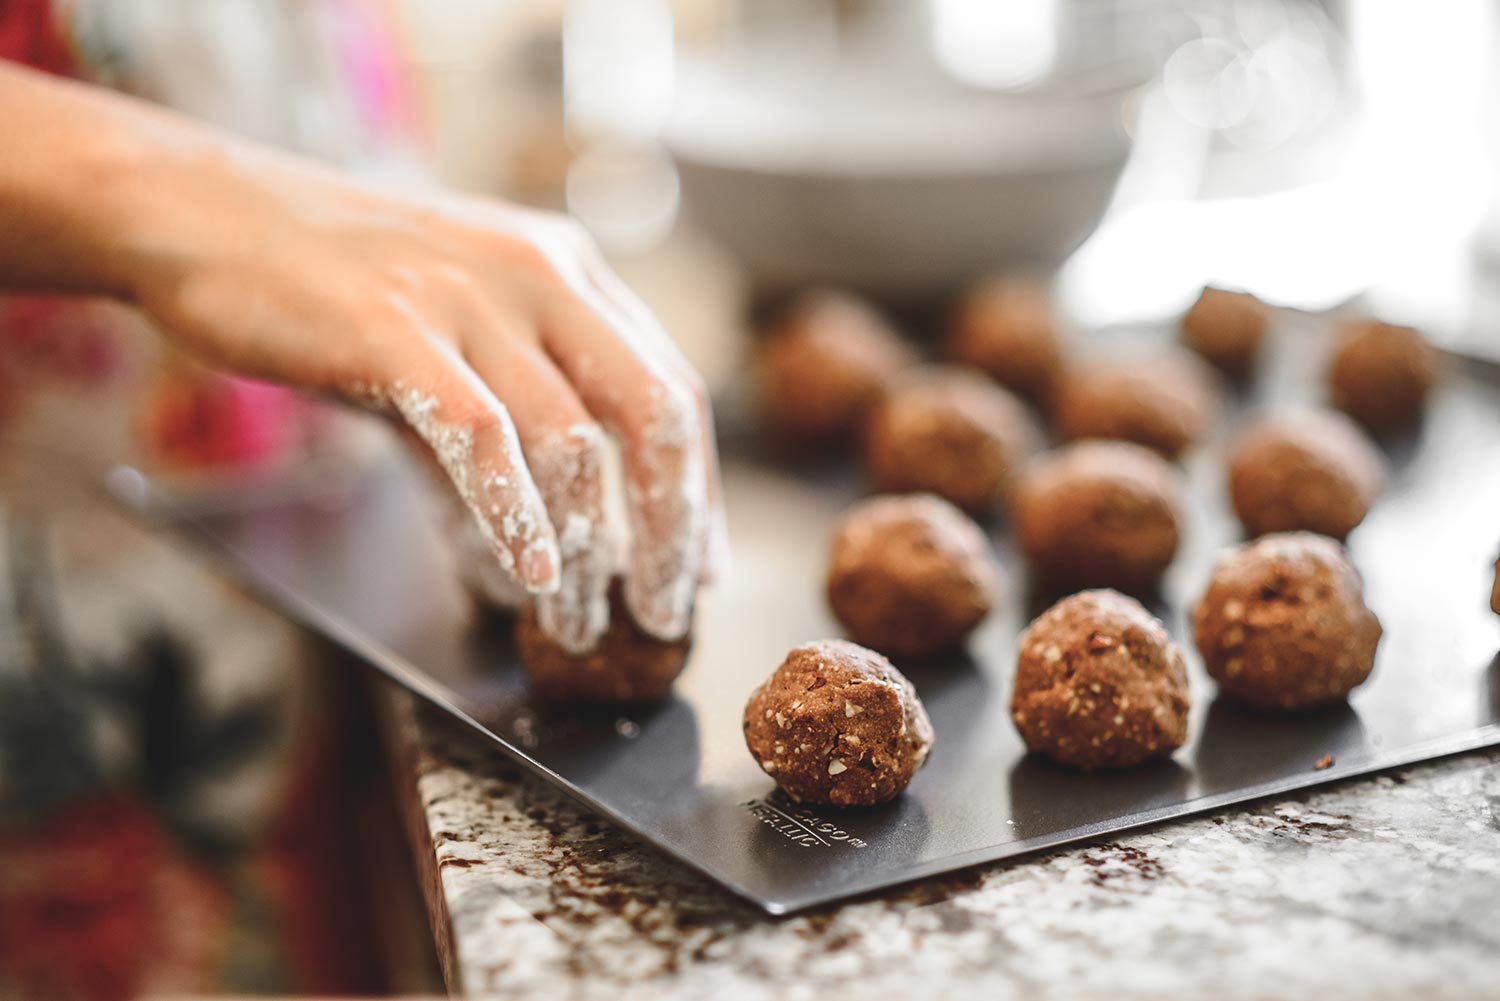
Assemble the rugelach:

Mix the brown sugar, cinnamon and hazelnuts together.

On a well-floured counter or board , roll each ball of dough into a 9-inch circle. If the dough has been in the fridge for a while, it might be quite firm but will soften quickly. The dough is sticky so you will need lots of flour on the rolling pin.  I flipped my dough regularly to ensure that it was not sticking.

Leaving a 1/2 inch circle in the centre of the pastry clear, spread the circle with a thin layer of raspberry jam. Leaving this small circle at the centre clear of filling will make it easier to get the pastry to stick to itself when rolled.

Sprinkle 1/4 of the filling mixture evenly across the jammy surface. Lightly press the filling into the dough.

Using a pizza cutter or knife, cut the circle into 12 equal wedges by cutting the whole circle in quarters, then each quarter into thirds. Starting with the wide edge, roll up each wedge gently pressing the point into the rolled dough so that it won’t peel back when baking. (For the log version, see the Smitten Kitchen link above.) Place the cookies, points tucked under, on a baking sheet lined with parchment paper or a silpat. Chill for 30 minutes.

Baking the rugelach:

Preheat the oven to 350 degrees F.

Brush each cookie with the egg mixture. Sprinkle the cookies lightly with the turbinado sugar. Bake for 15 to 20 minutes, until lightly browned. Allow to cool on a wire rack.

A Pat & A Pinch - Rugelach


Crazy Crunch

A Pat & A Pinch - Crazy Crunch

I love the holiday season! This is a Christmas tradition in our family.  It comes via my Aunt Robin who got it from her sister. It is an indulgence – there is absolutely nothing healthy about it but it is so delicious and incredibly difficult to resist. I only make it once a year, so that’s ok isn’t it?

It is best if you have two people to make it as the caramel begins to set almost immediately when removed from the heat, thus requiring fast action to get the popcorn coated. However, if you can’t find a helper it can be accomplished without assistance.  Rubber gloves are a good idea when working with the hot caramel and I wouldn’t make this without the benefit of a candy thermometer.

After years of making one batch with margarine and another with butter, the tasters always slightly favour the margarine batch. As a rule, I avoid margarine, but I make an exception for this recipe. Either is delicious and,if I’d never had the margarine version, I’d be perfectly content with the butter version.

The recipe also calls for a mix of almonds and pecans. I prefer all pecans, so I go with that.  It could also be made without nuts.

Crazy Crunch

2 quarts popped popcorn (not the microwave type!)

1/2 cup pecan halves

1/2 cup almonds

1 cup sugar

1 cup margarine (yes really) or butter

1/2 cup light corn syrup (Karo syrup in the U.S.)

1 teaspoon vanilla

1 piece of parchment paper, crumpled into a loose ball.

For a single batch without assistance:

Spread the popcorn across one or two large roasting pans or cookie sheets with sides keeping the corn close enough together to minimize gaps. If you have a pan large enough to accommodate the popped corn in a single layer, it is easier to work with than two pans. Sprinkle the nuts across the top. Place two wooden spoons or silicone spatulas and the crumpled piece of parchment beside the pan(s).

Melt the margarine or butter in a 1 1/2 quart saucepan. Add the syrup, vanilla and sugar stirring constantly and bringing to a boil. Continue boiling, stirring regularly for 10 to 15 minutes until the mixture reaches 285-290 degrees F on a candy thermometer, putting on the rubber gloves when the temperature reaches about 245 degrees F. Remove from the heat.

Quickly drizzle the caramel in a stream across the corn mixture. Toss the corn with the spatulas or wooden spoons to coat the corn mixture as thoroughly as possible. Use the parchment ball to flatten out the mixture.  Allow to cool. When cool, break into pieces storing in an air tight container.

A double batch when I have help:

When I have help, I make a double batch using a larger saucepan to make the caramel and a very large stainless steel bowl filled with the popped corn and nuts to mix in the hot caramel.  As I drizzle the hot caramel over the corn mixture, my assistant (wearing the rubber gloves) vigorously tosses the corn mixture and hot caramel, being careful to avoid any contact with the stream of hot caramel. The still hot coated mixture is then turned into two roasting pans, tossed a little more, and flattened with crumpled parchment before being allowed to cool.

A Pat & A Pinch - Crazy Crunch

Italian Polenta Cookies

A Pat & A Pinch - Italian Polenta Cookies
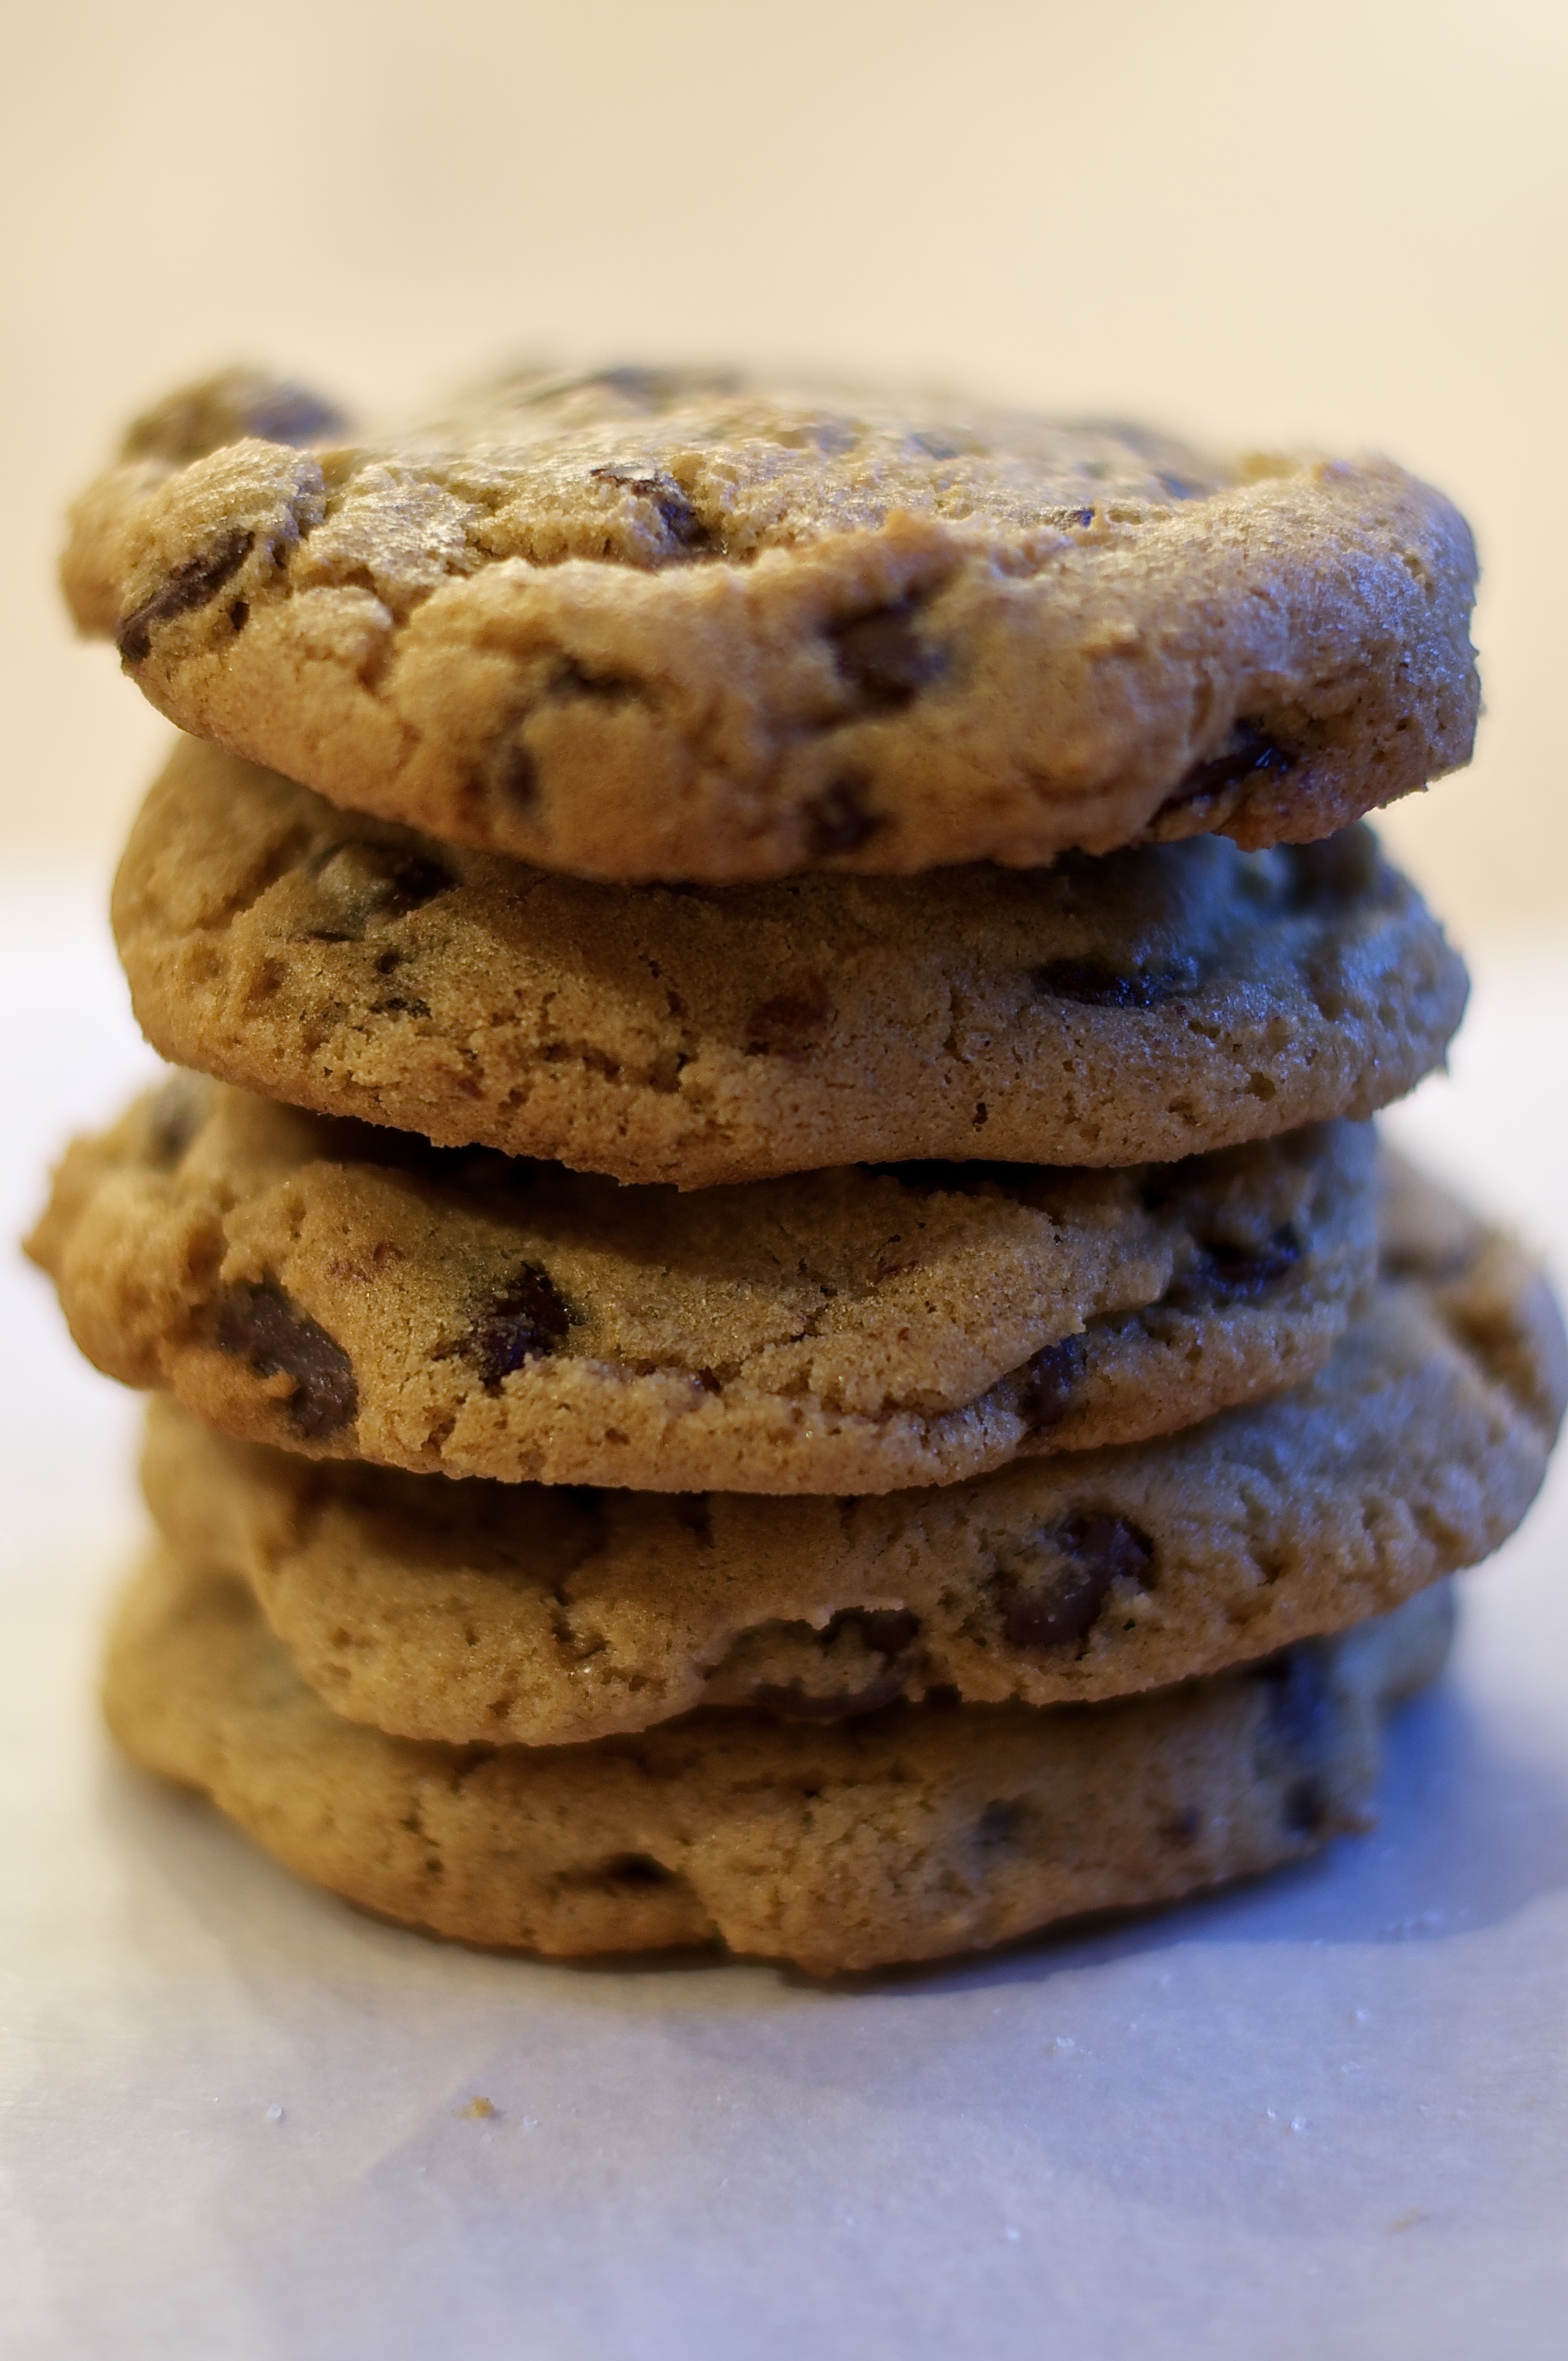
As the season for baking ramps up, I’ve been thinking a lot about these cookies. They are quite different from most of the cookies I’ve tried.  If you’ve looked through my blog, you will have seen that I have a penchant for foods that can boast of lemon.  In this recipe the lemon is rounded out by the addition of orange.  The cornmeal gives a lovely crunch and texture to an otherwise very simple and rustic cookie.

The Italian name for these cookies is Crumiri, however, we shape them by hand in the form of Torchettini, the way my mother was taught some years ago.

If you decide to make these, plan to set aside a morning or afternoon to do so. The dough comes together in no time at all, but the rolling and shaping takes a good deal of time.  The dough is challenging but forgiving to work with, and in the end, with a little patience, you will have a lovely cookie that is fantastic with tea or coffee.

Italian Polenta Cookies

6 oz (3/4 cup) butter

2 cups sugar

2 eggs

1 tablespoon vanilla

zest of two oranges (approx 1 generous tbsp very finely grated or chopped)

zest of two lemons (approx 1 generous tbsp very finely grated or chopped)

1/2 teaspoon salt

1 1/2 cups cornmeal

3 cups flour

Preheat the oven to 350 degrees Fahrenheit (325 if using dark coloured baking sheets). Line the baking sheets with parchment.

Using a mixer, cream the butter and sugar. Beat in the eggs.  Add the vanilla and zests mixing to incorporate.

Add the salt, cornmeal and flour. Mix to create a dough that pulls away from the side of the mixing bowl.

Remove the bowl from the mixer and take a lump of the dough (enough to make a 2 inch round lump) and knead it together in your hands to meld the dough into a more solid mass. Using your hands like a rolling pin, roll the dough on a wooden cutting board to create a long thin tube of dough.

Cut off a six inch piece of the tube and gently fold into a U shape using your fingers to support the curve of the U as you bend the dough.  (The dough has a tendency to crack and will crack during baking as well.  Don’t fret – these are rustic cookies.) Allow one end of the U to be a little longer than the other. Fold the longer end over the shorter end. The two ends should end up approximately even looking in length.

Repeat until all the dough is used.

Bake for 17-22 minutes watching carefully and removing at the first sign of browning. If they cook too long they will be tasty but hard.

Makes approximately 60 cookies.

A Pat & A Pinch - Italian Polenta Cookies


Mocha Cake with Sour Cherries

Mocha Cake - A Pat & A Pinch

Last time I gave you a super simple recipe.  Today I am posting my longest recipe yet!

When I think of birthdays, this cake immediately springs to mind. It is a birthday tradition in my father’s family. It is made every birthday,  whether the celebrant is present or not. Even though it might seem like a cake for grown-ups, I loved it as a kid and my 7 year old son loves it too!

Making this cake is a project:  It’s not difficult to make, but it does take planning and time. Refrigerated, it lasts well, so even if it isn’t possible to eat it all in one sitting, you can be sure of having a delicious treat for several days.

A word of warning, sometimes the pitted cherries aren’t all pitted, so you may get a pit in your bite of cake.  In our family we consider getting a pit a prize and an indication of good luck to come.

Mocha Cake

CakeMocha Cake - A Pat & A Pinch

3 cups flour

3/4 cup cocoa powder

1 1/4 tsp baking powder

1 tsp baking soda

1 tsp salt

1/2 c shortening

2 cups sugar

2 eggs, well beaten

2 cups buttermilk

1 tsp vanilla

Filling

1 1/2 pints whipping creamMocha Cake - A Pat & A Pinch

1/3 cup sugar

3 tbsps instant coffeeMocha Cake - A Pat & A Pinch

1/8 tsp salt

1/4 tsp vanilla

2 bottles sour cherries, drained (reserve the liquid if you want to make a cherry reduction to baste the cake layers for additional flavour and moistness – see below)

Oatmeal Crumbs

3/4 cup large flake oatmeal

2 tablespoons brown sugar

2 1/2 tablespoons butter

Optional, but recommended

Liqueur of your choice such as Kahlua, brandy, a cherry liqueur or a reduction of the juice from the drained cherries.

Cake

Heat oven to 350 F. Prepare three round cake pans. I use non-stick pans and line the bottoms with parchment rounds.

Cream shortening and sugar. Add eggs and vanilla.

Sift the dry ingredients together in a separate bowl and then add to the shortening mixture alternating with the buttermilk.

Pour the batter into the three cake pans pushing the batter from the centre slightly up the sides of the pans.

Bake for 35-40 minutes.  Allow to cool for 5 minutes before turning out of the pans.  Remove the parchment. Allow to cool completely.

Filling

Combine the sugar, coffee and salt. Mix with the cream.

Chill for 3/4 hour in freezer, stirring occasionally.

Remove from freezer and beat until soft peaks form. Add the vanilla and beat until stiff. This is going to be the “icing” so it does need to be stiff.

Oatmeal crumbs

Combine ingredients in saucepan. Roast on a low-medium heat on the cooktop until brown stirring continuously. Be careful not to burn. Allow to cool before assembly.

Assembly

Slice the cake into 6 layers – you will only need 5. If the cakes are too domed, keep the dome on one of the halves, but even out the others. The filling will deal with any moderate unevenness so a perfectly flat layer is not required.  The domed layer will be the top (5th layer) of the cake.

Reserve the domed layer until the last. Begin with a flat layer taken from the bottom of one of the cakes. Sprinkle a little of the liquor of choice or reduced cherry juice across the cake. Spread a layer of the cream mixture across the cake. Sprinkle with about 1/3 of the drained cherries.(The cherries are added only to the lower layers of the cake to make it easier to cut). Add another cake layer, press it down into place firmly but gently and repeat.  Then add a third layer and repeat. Add the fourth layer repeating except with no cherries.  Add the top domed layer and ice the outside of the whole cake.

Sprinkle the cake with the oatmeal crumbs.  To get them to adhere to the sides of the cake requires “throwing” them against the cake.Mocha Cake - A Pat & A Pinch

Mocha Balls

This recipe is a personal favorite of mine.  As a child, my Omi would always sneak me a “bedtime snack” after dinner, dessert, and even brushing my teeth.  To this day, I find these little cookies irresistible.

In order to create an ‘About Me‘ for this blog, I invited my good friend and photographer Joshua Lawrence over to get some shots of me in the kitchen (and of course to munch on cookies).

Mocha Balls - A Pat & A Pinch

Mocha Balls

1 c. soft butter

1/2 c. sugar

2 tsp. vanilla

2 tsp. instant coffee

1 tbsp. hot water

1 3/4 c. flour

1/4 c. cocoa

1/2 tsp. salt

2 c. pecans, finely chopped

icing sugar

Beat butter, sugar, and vanilla together until fluffy.  Dissolve coffee in hot water and stir into butter mixture.  Sift dry ingredients into mixture.  Add chopped pecans and stir to blend well.  Shape into 1″ balls and place on ungreased cookie sheet.

Bake at 325F for 15 minutes or until set.  Roll balls in icing sugar while still slightly warm.

Mocha Balls - A Pat & A Pinch

Mocha Balls - A Pat & A Pinch

Sea Salted Chocolate Chip Cookies

My son loves chocolate chip cookies, so I am perpetually in search of the perfect chocolate chip cookie. He likes these cookies, but I love them. The touch of salt is a perfect foil to the plentiful chocolate. This wonderful recipe is from Savory Sweet Life.

The first time you try this recipe, it is important to watch the cookies carefully as they bake – they are so much better if you can get them out of the oven before they brown too much.  Don’t be distressed when their appearance changes while they cool. They will crackle more as they fall slightly and will look a touch gooey at first.

Try not to eat all of them in one sitting and do share!

Sea Salted Chocolate Chip Cookies - A Pat & A Pinch

1 cup (2 sticks) salted butter, softened

½ cup sugar

1½ cup packed brown sugar

2 eggs

2 tsp. vanilla extract

2¾ cups (12 oz) all-purpose flour (If possible, weigh the flour)

¾ tsp. smallish-medium coarse sea salt (do not substitute with table salt)

1 tsp. baking soda

1½ tsp. baking powder (make sure it is fresh)

2¼ cups semi-sweet chocolate chips

Preheat oven to 360 degrees.

Mix the baking soda, baking powder, salt, and flour in a bowl.

Cream the butter, sugar, and brown sugar in a mixer until it is fluffy (approx. 3 minutes on medium-high speed). Add the eggs and vanilla and beat for an additional 2 minutes until the colour lightens and the texture becomes almost icing like.

Add the flour mixture beating until the dry ingredients are fully incorporated. Finally add chocolate chips until well distributed. The cookie batter should be somewhat thick. Chill the batter for at least 30 minutes.

Drop about 2 tablespoons of dough or use a medium cookie scoop and plop the batter onto a baking sheet lined with parchment paper. Bake for 12-14 minutes until the edges are nice and golden brown. Remove from heat and allow the cookies to stay on the cookie sheet for an additional 2 minutes. Pick up the parchment paper with the cookies still on top and transfer to a cool non-porous surface. Allow the cookies to cool on the paper for at least 3 minutes before serving.